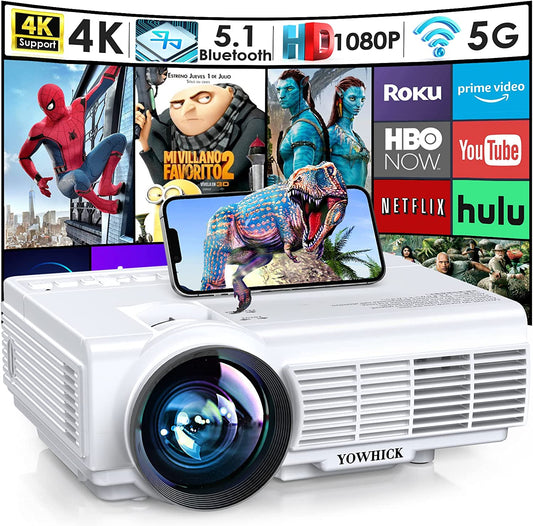
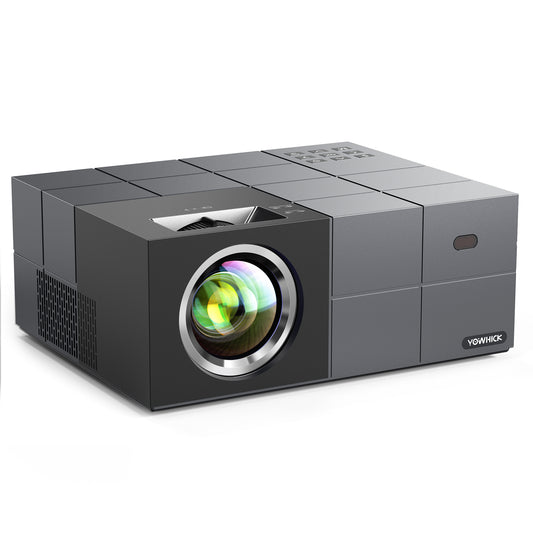
Mounting a projector is a great way to achieve a clean and professional look for your home theater or multimedia setup. However, drilling holes in your walls or ceiling may not be an option for everyone due to various reasons such as rental agreements, property restrictions, or personal preferences. In this comprehensive guide, we will explore alternative methods and techniques for mounting a projector without drilling, allowing you to enjoy a seamless projection experience. So, let's dive in and discover how to mount your projector without the need for drilling.
Using a Projector Stand or Cart
One of the easiest and most versatile methods for mounting a projector without drilling is by using a projector stand or cart. Here's how you can do it:
- Select a Sturdy Stand or Cart: Choose a yowhick projector stand or cart that is specifically designed for projectors. Look for a sturdy model that can support the weight of your projector securely.
- Adjust the Height and Angle: Set the stand or cart at the desired height and angle for optimal projection. Ensure that the projector is positioned at the correct distance from the screen or wall to achieve the desired image size.
- Secure the Projector: Use the adjustable arms or mounting plate on the stand or cart to secure the projector in place. Follow the manufacturer's instructions for attaching the projector securely to the stand.
- Cable Management: To maintain a neat and organized setup, use cable management solutions such as cable ties or adhesive clips to route and secure the projector cables along the stand or cart.
Utilizing a Projector Mounting Kit
If you prefer a more permanent mounting solution without drilling, you can consider using a projector mounting kit that is designed to be attached to various surfaces without damaging them. Follow these steps to mount your projector without drilling:
- Choose the Right Mounting Kit: Select a projector mounting kit that is specifically designed for non-drilling installation. These kits often utilize adhesive pads or clamps to secure the mount to the wall or ceiling.
- Identify the Mounting Location: Determine the ideal location for mounting your projector. Ensure that the surface is clean, dry, and free of any dust or debris that could interfere with the adhesive or clamp.
- Prepare the Surface: Clean the mounting area with a mild detergent or rubbing alcohol to ensure proper adhesion or grip. Follow the instructions provided by the mounting kit manufacturer for surface preparation.
- Attach the Mounting Kit: Apply the adhesive pads or attach the clamps to the mounting kit according to the manufacturer's instructions. Ensure that the mount is aligned properly and securely attached to the surface.
- Secure the Projector: Depending on the type of mounting kit, use the provided screws or brackets to attach the projector to the mount. Follow the manufacturer's instructions for proper installation.
Using a Projector Ceiling Mount Plate
If you want to mount your projector on the ceiling without drilling, a ceiling mount plate offers a viable solution. Follow these steps for a non-drilling installation:
- Select a Ceiling Mount Plate: Choose a ceiling mount plate that is compatible with your projector model and does not require drilling. Look for a plate that offers a secure and adjustable mounting solution.
- Locate the Mounting Spot: Determine the ideal spot on your ceiling for mounting the projector. Ensure that the location provides the desired projection angle and is suitable for a non-drilling installation.
- Prepare the Ceiling Surface: Clean the mounting area on the ceiling using a mild detergent or rubbing alcohol. Remove any dust, dirt, or debris that could affect the adhesion of the mounting plate.
- Attach the Ceiling Mount Plate: Use adhesive pads or clamps provided with the ceiling mount plate to attach it securely to the ceiling. Ensure that the plate is properly aligned and firmly attached.
- Mount the Projector: Follow the manufacturer's instructions to attach the projector to the ceiling mount plate. Adjust the projector's position and angle to achieve the desired projection alignment.
Considerations and Tips
Here are some additional considerations and tips for mounting a projector without drilling:
- Weight Capacity: Ensure that the stand, cart, mounting kit, or ceiling mount plate can support the weight of your projector. Check the manufacturer's specifications for weight capacity before making a purchase.
- Surface Compatibility: Verify that the adhesive pads or clamps used in non-drilling mounting solutions are compatible with the surface where you plan to mount your projector. Some adhesives may not adhere well to certain materials.
- Cable Management: Use cable management solutions such as adhesive clips, cable ties, or cable raceways to keep the projector cables organized and hidden from view.
- Alignment and Calibration: Once the projector is mounted, carefully align and calibrate the image to ensure proper focus, keystone correction, and screen size. Refer to the projector's user manual for instructions on image adjustment.
- Regular Maintenance: Periodically check the mounting solution for stability and ensure that all connections remain secure. Follow the maintenance guidelines provided by the manufacturer to prolong the life of the mounting system.
Conclusion
Mounting a projector without drilling holes in your walls or ceiling is achievable with the right methods and equipment. Whether you opt for a projector stand, a non-drilling mounting kit, or a ceiling mount plate, you can enjoy a seamless projection experience while maintaining the integrity of your living space. Follow the steps and tips outlined in this comprehensive guide to successfully mount your projector without drilling, and create a visually captivating and immersive viewing environment.


