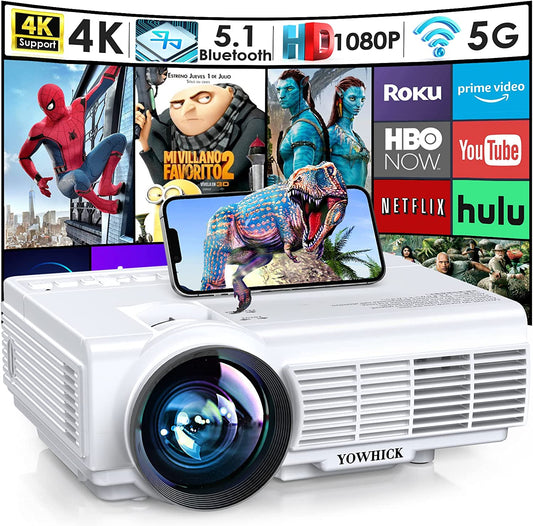
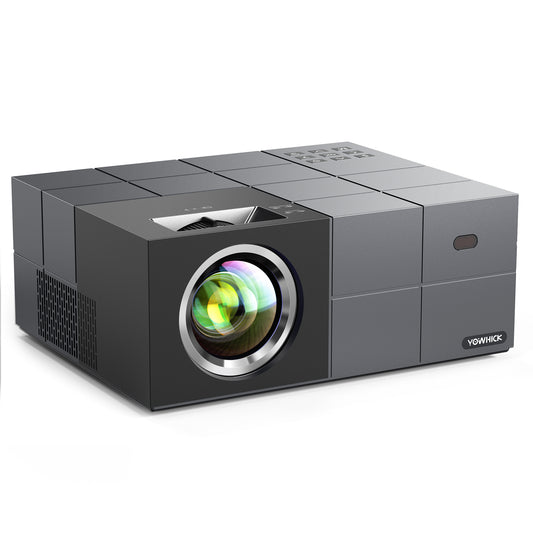
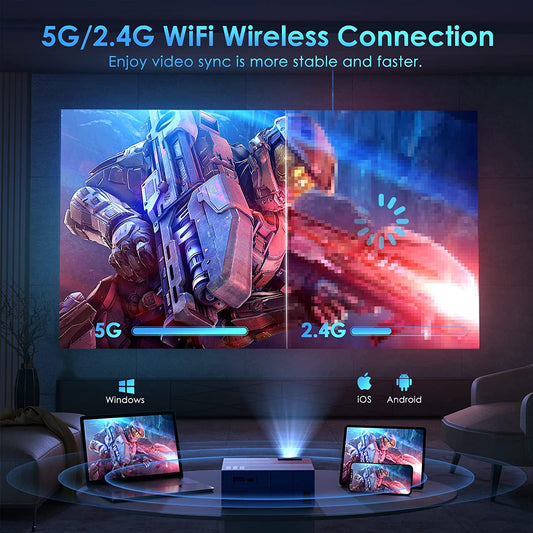
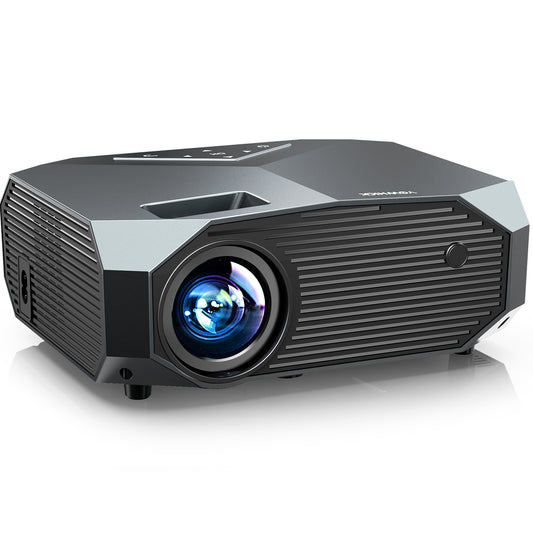
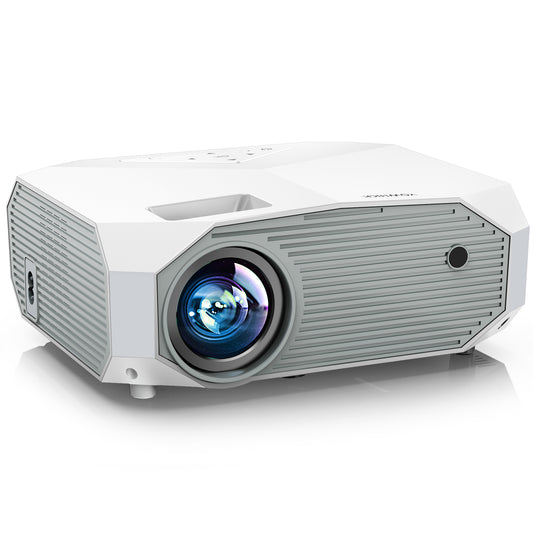
Projectors have become an essential tool for presentations, home theaters, and various multimedia applications. However, if you're new to using a projector, you might find yourself unsure about how to turn it on properly. In this comprehensive guide, we will provide you with step-by-step instructions on how to turn on a projector, ensuring a seamless and successful start to your projection experience. Follow these simple steps to power up your projector and begin enjoying its capabilities.
Step 1: Gather the Required Equipment
Before you begin, make sure you have the following equipment ready:
- Projector: Ensure you have a functional projector that is properly connected to a power source and your video source (e.g., laptop, DVD player).
- Power Cable: Ensure you have the appropriate power cable for your projector model.
- Remote Control (if applicable): If your projector comes with a remote control, have it accessible for convenience.
- Batteries (if applicable): If your remote control requires batteries, ensure they are installed and functional.
Step 2: Connect the Projector to Power
To turn on your projector, you need to connect it to a power source. Follow these steps:
- Locate the power input port on the back or side of your projector.
- Connect one end of the power cable to the power input port of the projector.
- Plug the other end of the power cable into a nearby electrical outlet.
- Ensure the power cable is securely connected at both ends.
Step 3: Power On the Projector
Once the projector is connected to power, it's time to turn it on. The exact process may vary depending on your projector model, so refer to your projector's manual for specific instructions. However, the following steps provide a general guideline:
- Locate the power button on your projector. It is usually located on the top, front, or side of the device.
- Press the power button once to turn on the projector. Some projectors may have a power switch that needs to be toggled.
- Wait for the projector to initialize and warm up. This process may take a few seconds or a couple of minutes, depending on the model.
- Check the indicator lights on the projector. Most projectors have an indicator light that turns on when the device is powered on.
- If your projector has a remote control, you can also try pressing the power button on the remote to turn on the device.
Step 4: Adjust Projector Settings
After turning on the projector, you may need to adjust certain settings to optimize your viewing experience. Here are some common settings you might need to adjust:
- Source/Input Selection: Use the projector's remote control or menu buttons to select the correct input source (e.g., HDMI, VGA) that corresponds to your video source (e.g., laptop, DVD player).
- Keystone Correction: If your projector is not placed directly in front of the projection surface, you may need to adjust the keystone correction to correct any distorted or trapezoidal image.
- Focus and Zoom: Use the focus and zoom controls, either on the projector or through the remote control, to adjust the clarity and size of the projected image.
- Image Settings: Explore the projector's menu options to adjust brightness, contrast, color temperature, and other image-related settings to suit your preferences.
Step 5: Power Off the Projector
When you're finished using the projector, it's important to power it off correctly to ensure longevity and avoid any potential damage. Follow these steps to power off your projector:
- Locate the power button on your projector or remote control.
- Press and hold the power button for a few seconds until you see a confirmation message or the projector begins the shutdown process.
- Follow any on-screen prompts or indicators to ensure the projector is powering down properly.
- Once the projector has fully powered off, you can safely unplug the power cable from the electrical outlet.
- If applicable, turn off any connected devices (e.g., laptop, DVD player) and disconnect them from the projector.
Conclusion
In this step-by-step guide, we have outlined the process of turning on a projector. By gathering the necessary equipment, connecting the projector to power, powering it on, adjusting the settings, and properly powering it off, you can confidently operate your projector and enjoy an immersive visual experience.
Remember to consult your projector's manual for specific instructions tailored to your model, as the steps may vary slightly. With these instructions in mind, you can now confidently set up and operate your projector for various applications, whether it's for professional presentations, home theaters, or multimedia entertainment.

