
Outdoor projectors offer a fantastic way to enjoy movies, sports events, and other multimedia experiences in the comfort of your backyard or outdoor space. However, a common question that arises is whether it is possible to use an outdoor projector during the day when natural light is abundant. In this article, we will delve into the topic and explore various techniques and considerations for using an outdoor projector effectively during daylight hours.
Understanding the Challenges of Daytime Outdoor Projection
Before discussing the techniques, it's important to understand the challenges associated with using an outdoor projector during the day. The primary obstacle is the presence of ambient light, which can wash out the projected image and affect its visibility. Unlike indoor environments where you can control the lighting conditions, daylight brings natural sunlight and other external light sources that can interfere with the projection.

Technique 1: Choose the Right Projector
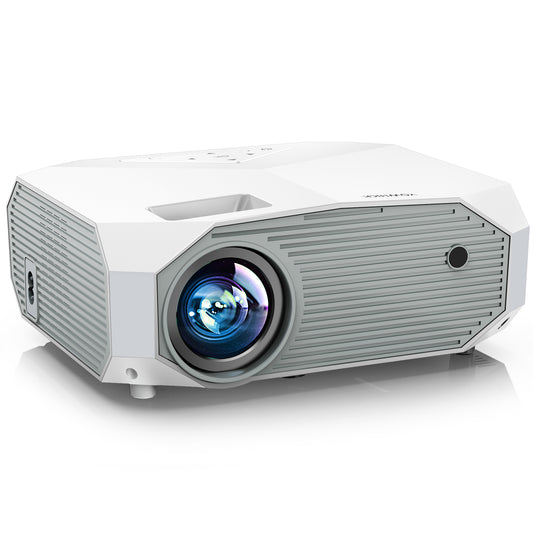
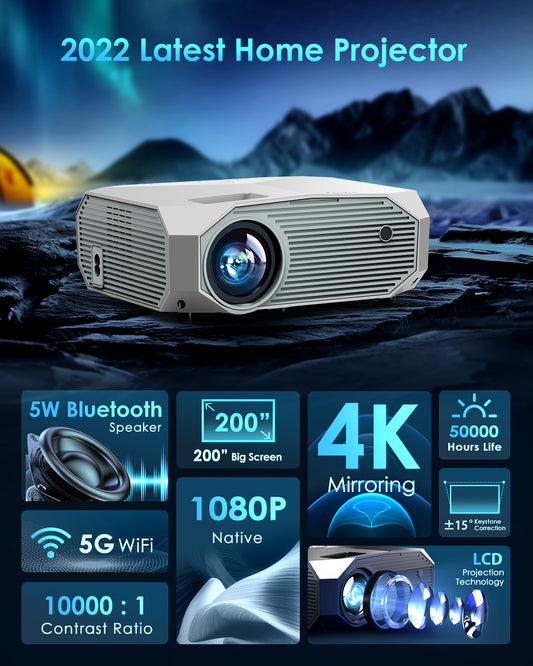
To enhance daytime outdoor projection, it's crucial to choose a projector with high brightness capabilities. Look for projectors specifically designed for outdoor use or those with high lumens (brightness) ratings. Projectors with brightness levels of 3,000 lumens or more are generally recommended for daytime outdoor viewing. The higher the brightness, the better the projector will be able to compete with ambient light.
Technique 2: Optimal Screen Selection
Selecting the right outdoor projection screen is vital for daytime viewing. Consider the following factors:
Reflectivity
Choose a screen material that has high reflectivity, allowing it to effectively reflect and enhance the projected image. Look for screens with higher gain values, as they can help compensate for the ambient light by reflecting more light back to the viewers.
Color and Contrast
Opt for screens with high color reproduction and contrast capabilities. Screens that can produce vibrant colors and deep blacks will help maintain image quality and visibility, even in daylight conditions.
Ambient Light Rejection (ALR) Screens
Consider investing in Ambient Light Rejection screens designed specifically for daytime outdoor projection. ALR screens are engineered to minimize the impact of ambient light by reflecting the projected light towards the viewer while diffusing the external light sources.
Technique 3: Time the Projection
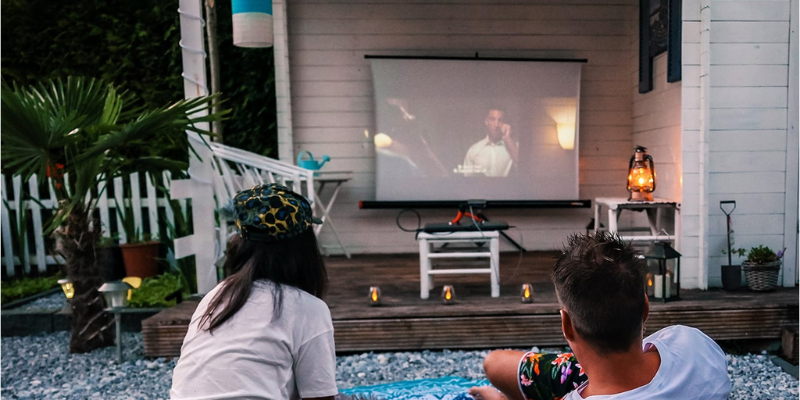
Timing is crucial when using an outdoor projector during the day. Aim to schedule your outdoor viewing sessions during periods when the sunlight is not as intense. Early mornings or late afternoons when the sun is lower on the horizon can provide more favorable lighting conditions. Keep in mind that even during these times, some ambient light may still be present, so it's important to choose a suitable projector and screen combination.
Technique 4: Create a Shaded Environment
To improve the visibility of the projected image, create a shaded environment around the projection area. This can be achieved by utilizing natural or artificial shade structures such as umbrellas, canopies, or pergolas. By reducing the direct sunlight falling on the screen, you can enhance the contrast and clarity of the projected image.
Technique 5: Optimize Projection Settings
Adjusting the projection settings on your outdoor projector can make a significant difference in daytime viewing. Consider the following settings:
Brightness and Contrast
Increase the brightness and contrast settings on your projector to make the image more visible in daylight conditions. However, be cautious not to overdo it, as excessively high settings can lead to reduced image quality and potential image burn-in.
Color Temperature
Adjust the color temperature to optimize the image quality based on the ambient lighting conditions. Experiment with different settings to find the balance that works best for your specific outdoor environment.
Keystone Correction
Ensure that the projected image is properly aligned and rectangular by using the keystone correction feature. Keystone correction helps eliminate any distortion caused by the projection angle, resulting in a more rectangular and proportionate image.
Technique 6: Use a Projector Hood or Sunshade
To combat the effects of direct sunlight, consider using a projector hood or sunshade. These accessories help shield the projector from direct sunlight, reducing glare and improving image visibility. Ensure that the hood or sunshade is compatible with your projector model and properly installed for optimal effectiveness.
Technique 7: Consider Outdoor LED Projectors
Another option to enhance daytime outdoor projection is to consider outdoor LED projectors. LED projectors have better daylight visibility compared to traditional lamp-based projectors. They offer higher brightness levels, improved color reproduction, and longer lamp life. LED projectors are designed to perform better in ambient light conditions, making them a suitable choice for daytime outdoor projection.
Technique 8: Manage Ambient Light Sources
Take steps to minimize the impact of ambient light sources in your outdoor projection setup. Consider the following:
Positioning
Position your outdoor projector and screen away from direct light sources, such as streetlights or bright spotlights. Find an area where the ambient light is relatively consistent to avoid unwanted interference with the projected image.
Curtains or Blinds
If you have windows or other light sources near the projection area, consider using curtains or blinds to block out excess light. This can help create a darker environment and improve image visibility.
Dimming Lights
If possible, dim or turn off any nearby lights that may cause glare or affect the image quality. By reducing the competing light sources, you can enhance the visibility of the projected image.
Conclusion
Using an outdoor projector during the day is possible with the right techniques and equipment. By selecting a projector with high brightness capabilities, choosing an appropriate screen, timing your projection sessions, creating a shaded environment, optimizing projection settings, and managing ambient light sources, you can enhance the visibility and enjoy outdoor projection during daylight hours.
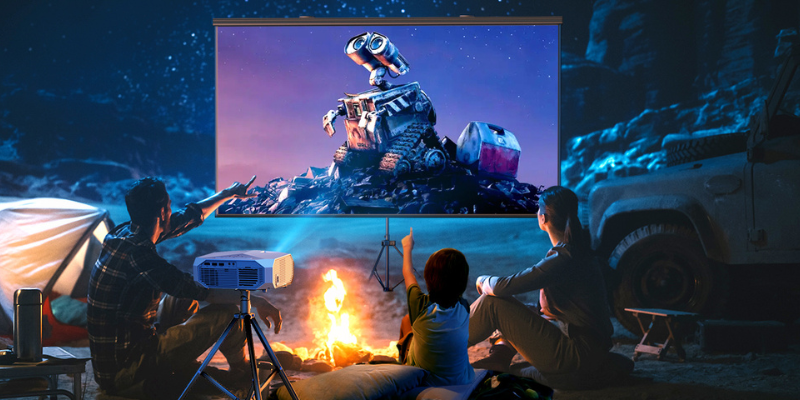
Remember to consider the specific characteristics of your outdoor environment and adapt the techniques accordingly. With careful planning and the right equipment, you can create an immersive outdoor viewing experience that can be enjoyed both during the day and at night.