
Projectors have evolved from being solely business or cinema equipment to versatile multimedia devices that can be used as a TV alternative. With advancements in technology, using a projector as a TV has become more accessible and affordable. This article aims to provide a comprehensive guide on how to effectively use a projector as a TV, offering insights into the necessary equipment, setup process, and tips for optimizing your viewing experience. So, let's dive in and explore the world of using projectors as TVs.
Understanding the Basics of Projector TVs
Before delving into the setup process, it's important to understand the basic components of a projector TV setup. Here are the key elements:
- Projector: A projector is the core component of your TV setup. It is responsible for projecting the image onto a screen or wall.
- Screen or Wall: You need a surface to project the image onto. This can be a dedicated projection screen or a plain white wall.
- Media Sources: Projector TVs require media sources to provide the content you want to watch. Common media sources include streaming devices, cable or satellite boxes, gaming consoles, Blu-ray players, and media players.
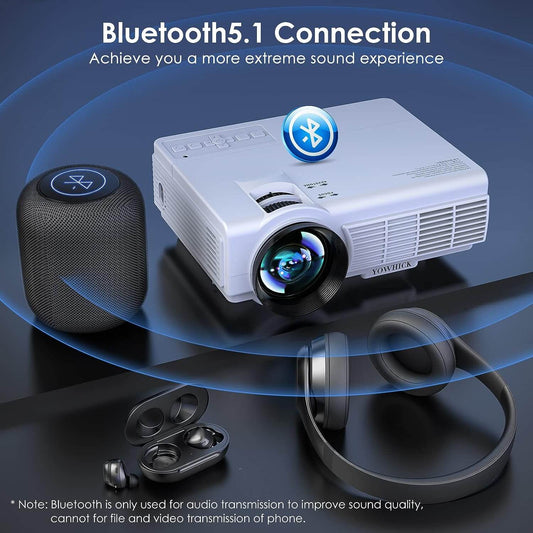
- Audio System: While projectors have built-in speakers, using an external audio system, such as soundbars or AV receivers, can significantly enhance your audio experience.
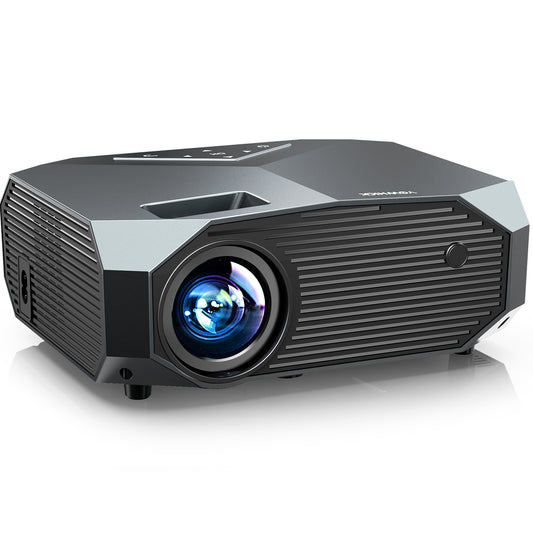
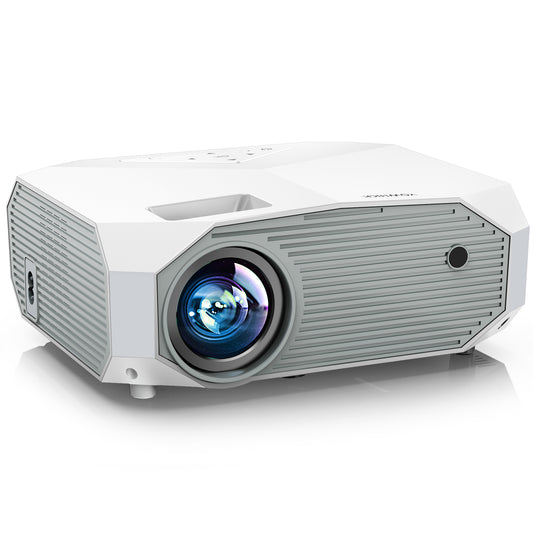
Choosing the Right Projector
Selecting the right projector for your TV setup is crucial for achieving optimal image quality and performance. Consider the following factors when choosing a projector:
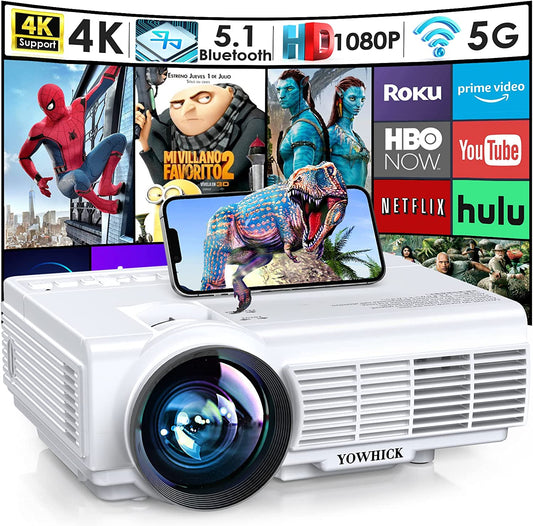
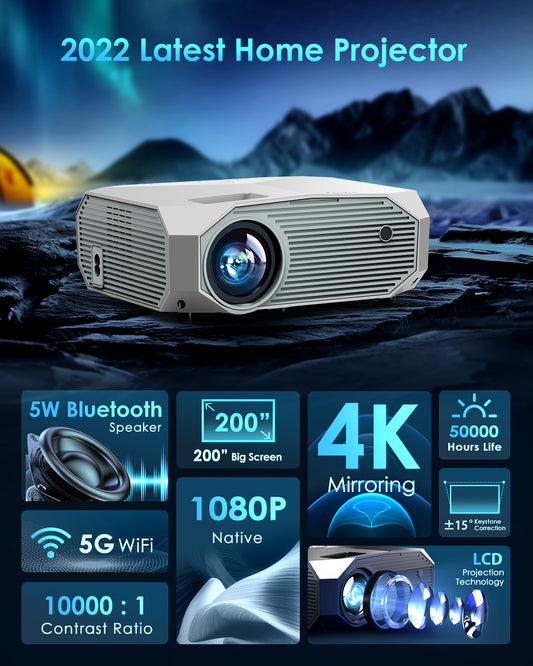
- Brightness: Look for a projector with sufficient brightness output, measured in lumens, to ensure a clear and vibrant image. Higher brightness levels are necessary for rooms with ambient light.
- Resolution: Opt for a projector with a resolution that matches your viewing preferences. Full HD (1080p) and 4K UHD projectors offer sharper and more detailed images.
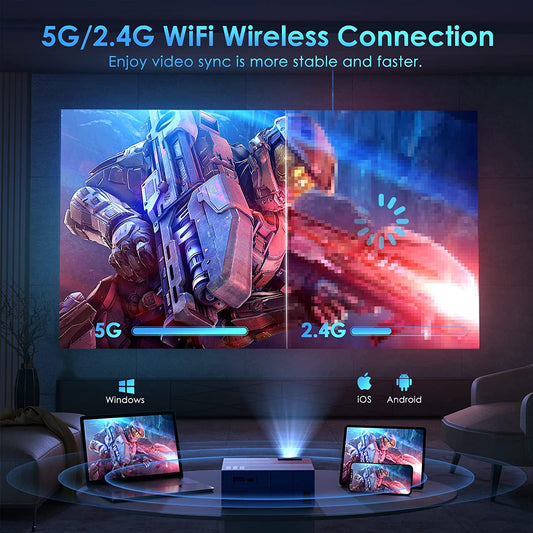
- Connectivity: Ensure that the projector has the necessary connectivity options, such as HDMI, to connect to your media sources.
- Throw Distance: Consider the throw distance, which determines the distance between the projector and the screen/wall for your desired image size. Ensure it suits your available space.
Setting Up the Projector TV
Now, let's explore the step-by-step process of setting up a projector as a TV:
- Determine the Placement: Decide where you want to position the projector. Consider factors such as throw distance, screen size, and room layout. Ensure the projector is placed on a stable surface or ceiling-mounted securely.
- Connect the Projector: Connect the projector to your media source(s) using HDMI or other compatible cables. If using multiple devices, consider an HDMI switcher or AV receiver to manage the connections conveniently.
- Connect the Audio System: Connect your audio system to the projector using an appropriate audio cable, such as HDMI ARC, optical audio, or 3.5mm audio, depending on the available ports on your devices.
- Configure Settings: Access the projector's settings menu to configure display options, such as aspect ratio, keystone correction, and image size. Adjust these settings to match your viewing preferences and optimize the image quality.
- Adjust Focus and Alignment: Use the projector's focus ring and lens shift (if available) to ensure a sharp and properly aligned image on the screen or wall. Make necessary adjustments until the image appears crisp and centered.
Enhancing the Projector TV Experience
To further enhance your projector TV experience, consider the following tips:
- Lighting Control: For better image quality, control the ambient lighting in your viewing area. Dim the lights or use blackout curtains to minimize glare and improve contrast.
- Screen Selection: If you opt for a dedicated projection screen, choose one that suits your needs and budget. Fixed-frame or motorized screens can enhance the image quality by providing a smooth and flat surface.
- Sound Optimization: Invest in a quality audio system or soundbar to complement your visual experience. Ensure the audio system is properly calibrated and positioned for immersive sound.
- Streaming Devices: Consider using streaming devices, such as Roku, Apple TV, or Chromecast, to access various streaming services and expand your content options.
- Cable Management: Keep your cables organized and hidden to maintain a clean and clutter-free setup. Use cable management solutions like cable ties, raceways, or wall plates to achieve a neat appearance.
Maintenance and Care
To prolong the lifespan and maintain optimal performance of your projector TV, follow these maintenance tips:
- Clean the Projector: Regularly clean the projector's air filters and lens to prevent dust buildup, which can affect image quality and cause overheating. Follow the manufacturer's instructions for cleaning and maintenance.
- Lamp Replacement: Projectors have a limited lamp life. Keep track of the lamp hours and replace it when needed to maintain brightness and image quality.
- Proper Shutdown: Always power down the projector using the recommended shutdown procedure to prevent damage and ensure a longer lifespan.
- Ventilation: Ensure proper ventilation around the projector to prevent overheating. Keep the vents clear of obstructions and maintain adequate airflow.
Conclusion
Using a projector as a TV offers a unique and immersive viewing experience. By understanding the basics, selecting the right equipment, and following the setup process outlined in this guide, you can create a projector TV setup that meets your needs. Implementing tips for enhancing the experience and maintaining your equipment will further optimize your viewing pleasure. So, go ahead and explore the possibilities of transforming your home entertainment with a projector TV setup that rivals traditional television systems.