
An outdoor projector is a great way to turn your backyard into a movie theater, watch a game with friends, or enjoy a family movie night under the stars. It's an affordable and flexible way to take your entertainment experience to a whole new level. This essay explores how to use outdoor projectors for maximum enjoyment and entertainment.
Step 1: Choose the Right Projector
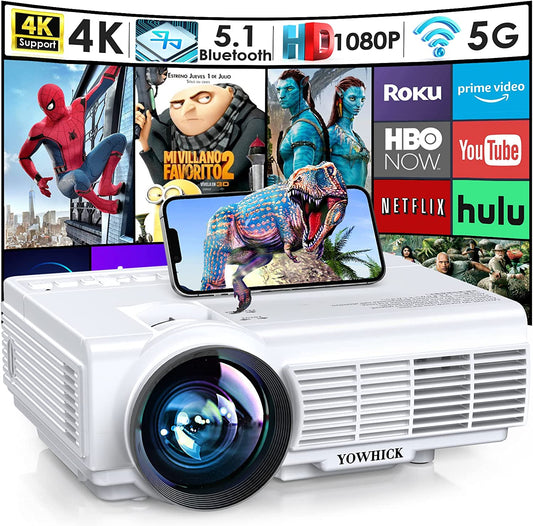
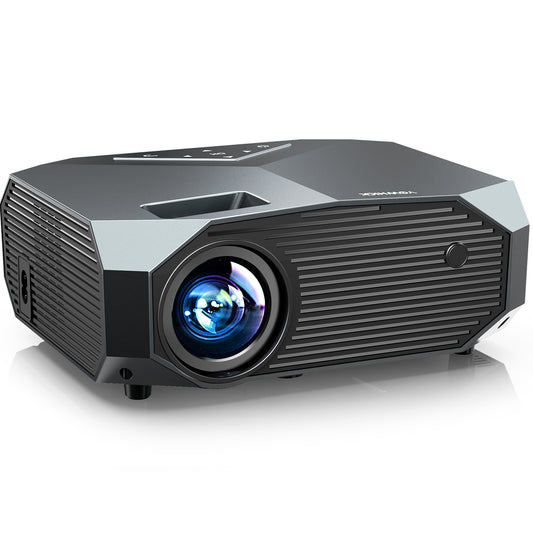
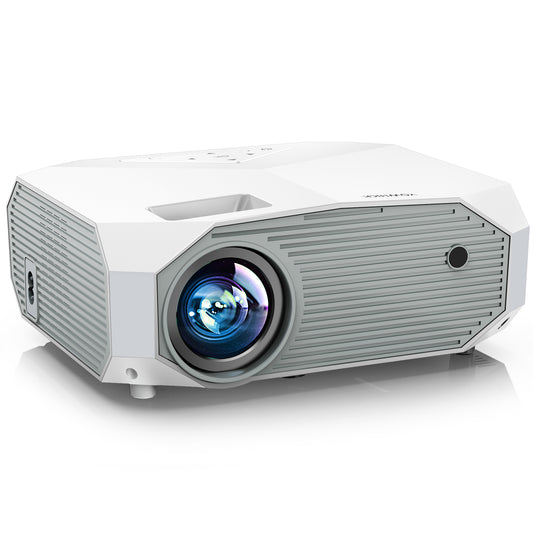
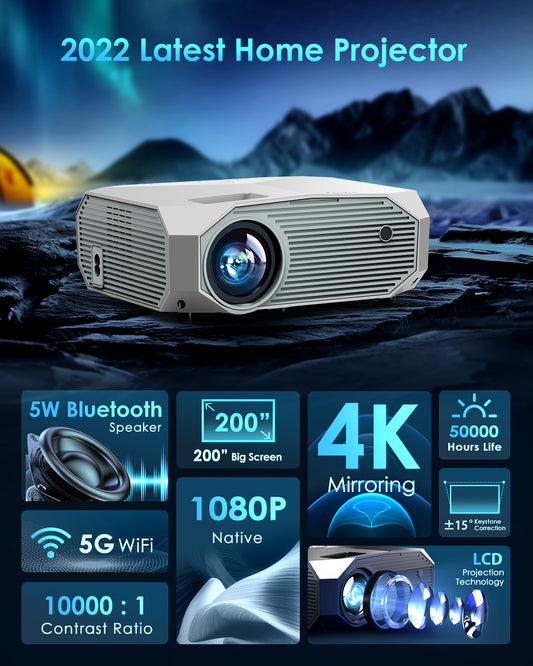
The first step in using an outdoor projector is choosing the right one. There are several things to consider when choosing a projector, including image size, brightness, contrast, and resolution. Ideally, you want a high resolution, high brightness projector suitable for outdoor use.
When choosing a projector, you should also consider the type of source you will be using. If connecting a laptop or DVD player, make sure the projector has the correct input. Alternatively, you can choose projectors with built-in streaming capabilities or USB ports.
Step 2: Find the Right Place
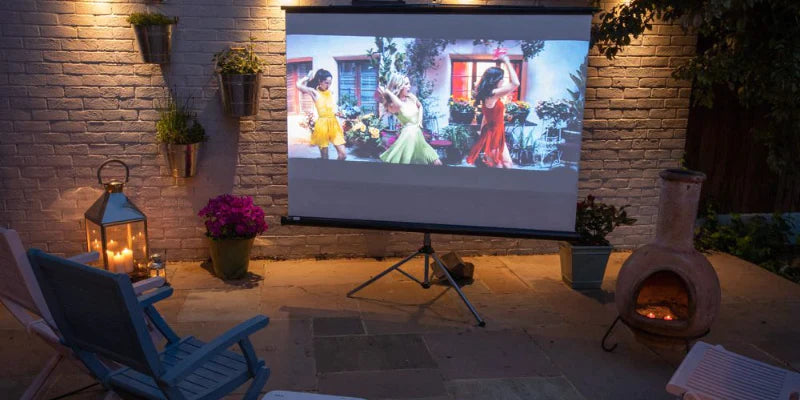
The next step is finding a suitable location for your outdoor movie setup. Find a flat, stable surface on which to place the projector and screen. Avoid areas with too much ambient light, such as street lights or porch lights. The image may become washed out and sharpness may be lost. Choose a location that is close to power sources and has enough space for your audience to sit and enjoy the movie. Consider setting up chairs and blankets for more comfortable viewing.
When choosing a location, it is also important to consider weather conditions. Avoid locations exposed to rain or strong winds. It can damage the projector or the projector screen. If you plan to use your projector frequently, you can also invest in a weather-resistant cover or enclosure to protect it from the elements.
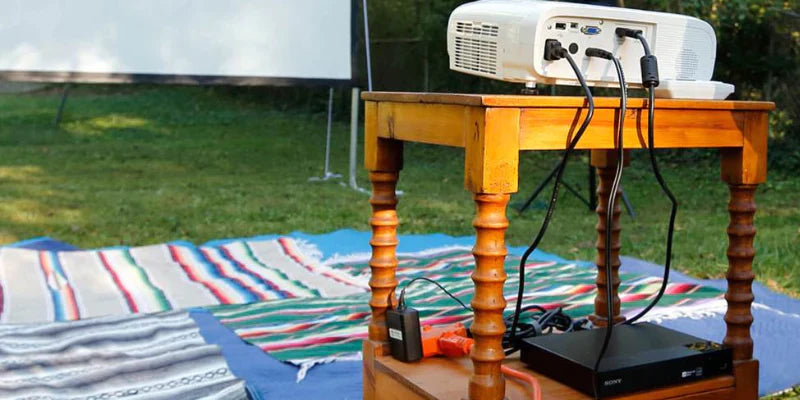
Step 3: Set up your projector
Once you've found a suitable location, set up your outdoor projector. Start by placing the projector on a stable surface such as a table or tripod. Place it at the proper distance from the screen according to the projection distance specifications of your projector. If you use a tape measure or a smartphone app, you can accurately measure the distance.
Then adjust the height and angle of the projector to center it on the screen. Most projectors have adjustable feet or a tilt feature that can be used to fine-tune the angle. Make sure the projector is secured in place to prevent it from moving or falling while the movie is playing.
Step 4: Connect Sources
After setting up the projector, connect sources such as DVD players, streaming devices, and laptops. Most projectors have multiple inputs such as HDMI, VGA, or USB that you can use to connect your sources. Be sure to use the correct cable and port for each source and check your projector settings to select the correct input.
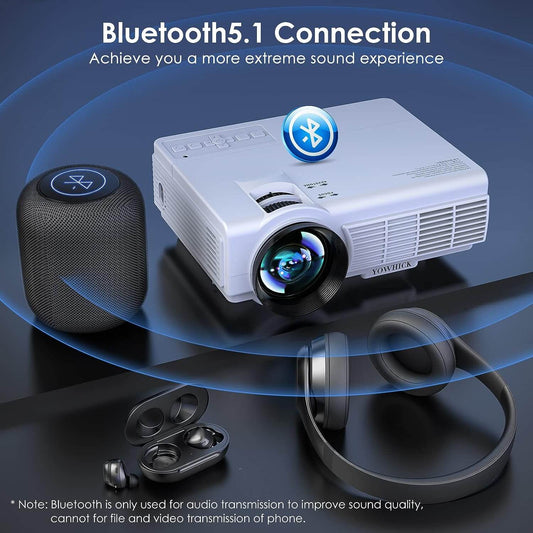
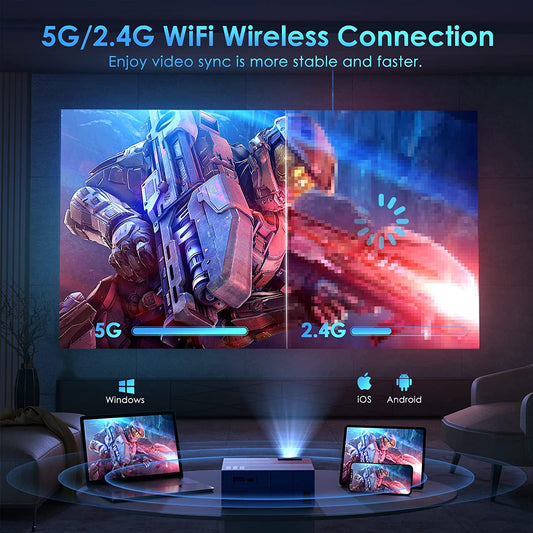
If you want to use a wireless connection such as Wi-Fi or Bluetooth, please make sure the projector supports wireless connection and follow the instructions to connect your device. Please note that wireless connections can be slower and less reliable than wired connections. We recommend testing before the movie.
Step 5: Adjust Focus and Zoom
After connecting your source, you should adjust the focus and zoom of the projector to ensure a sharp and clear image. Most projectors have manual or automatic focus and zoom features that can be used to adjust the size and clarity of the image. Use the remote control or projector buttons to fine tune the focus and zoom until the image is in focus and fills the screen.
If your projector has a lens shift feature, you can also use it to adjust the horizontal or vertical position of the image without moving the projector itself. This is useful when the screen is not perfectly aligned with the projector or when the image needs to be adjusted to fit the size of the screen.
Step 6: Adjust Keystone Correction
If the projector is not perfectly aligned with the screen, the image may appear distorted or trapezoidal. This is called the keystone effect and can be corrected using the projector's keystone correction feature. Most projectors have a manual or automatic keystone correction function that can adjust the shape of the image to make it rectangular.
Using the remote control or projector buttons, adjust the keystone so that the image is rectangular and aligned with the screen. Keystone correction can degrade image quality slightly, so it's best to use it sparingly and only when necessary.
Step 7: Test your setup
Before a movie, it's important to test your setup to make sure everything is working properly and your images look good. Play a short clip or trailer to test sound and image quality. Adjust volume and brightness as needed and check for distortion, pixelation, or lag. Make sure all sources are connected and working properly, and that the projector is aligned with the screen.
You can also test your setup at different times of the day and in different lighting conditions to see how your images look under different settings. This allows you to adjust the projector settings and position for the best viewing experience.
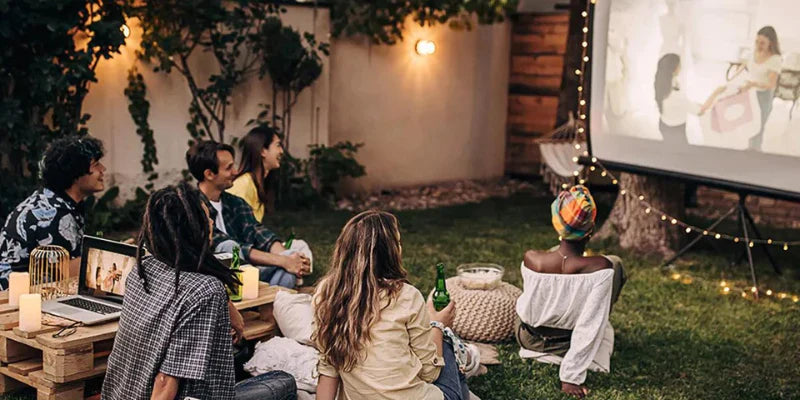
Step 8: Enjoy an outdoor cinema experience
Once you've set up and tested your outdoor projector, it's time to enjoy a movie under the stars. Turn off all ambient lighting to create a cozy and comfortable atmosphere for your audience. Grab some snacks and drinks and enjoy the movie with your family and friends. You can also add extra features such as a sound system, popcorn machine, and decorations to enhance your experience.
Always turn off the projector and disconnect all sources after a movie. Store the projector and screen in a safe, dry place and clean them when necessary. Remember to treat your equipment with care and use it responsibly to prolong your outdoor movie viewing experience.
Conclusion
An outdoor projector allows you to enjoy your favorite movies with your family and friends. However, some preparation and setup are required to ensure good image quality and a safe and comfortable environment. By following the steps outlined in this blog post, you can choose the right projector, find the right location, set up the projector, connect your sources, adjust focus and keystone, test your setup, and use it outdoors. You can enjoy the movie experience in full. I hope you find this guide helpful. Have a happy and memorable outdoor movie night.