
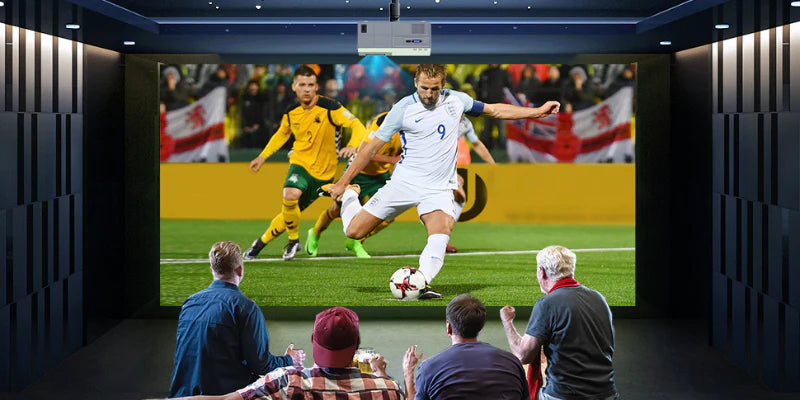
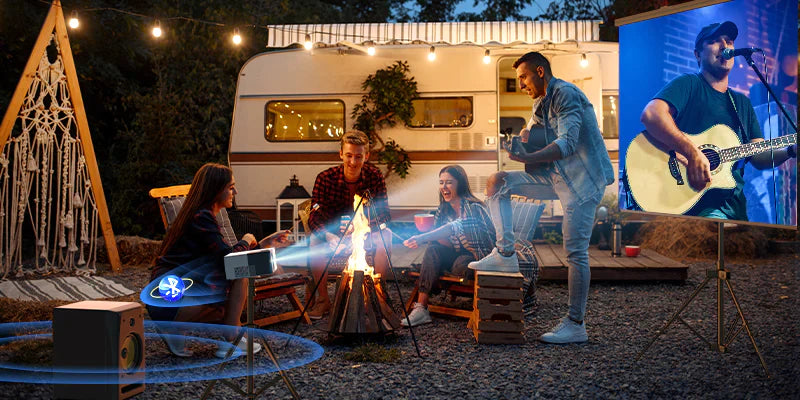
Watching a movie or sporting event outdoors can be a fun and exciting experience for you, your family and your friends. An outdoor projector is a great way to enjoy outdoor entertainment. Projects a large, high-quality image onto any flat surface, perfect for outdoor movie nights, sports games, and parties. However, setting up an outdoor projector can be a little tricky, especially if you don't know what you're doing.
Choosing the Right Projector
The first step in setting up an outdoor projector is choosing the right projector. Outdoor projectors are specifically designed for outdoor use and have features that make them ideal for outdoor use. Important factors to consider when choosing an outdoor projector include:
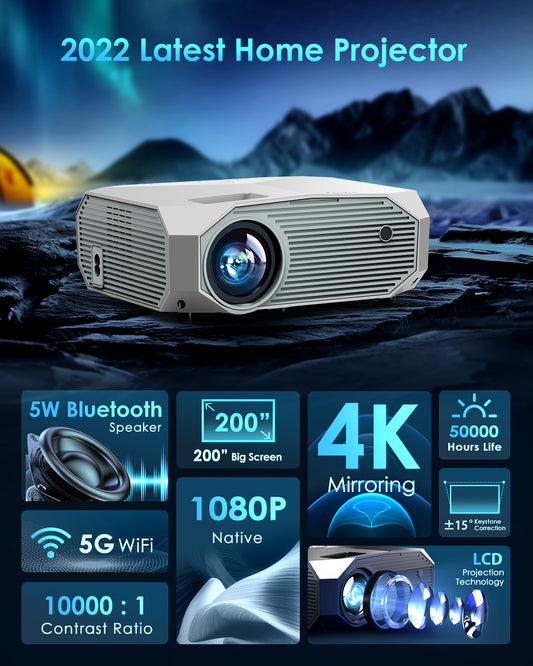
- Brightness - An outdoor projector should be bright enough to overcome the outdoor ambient light. For the best outdoor viewing experience, look for a projector with a high lumen count (at least 2,500 lumens).
- Resolution - Projector resolution is an important factor in determining image quality. For outdoor use, you should choose a projector with a resolution of 1080p or higher for a clear and sharp image.
- Portability - Since the projector will be used outdoors, it is important to choose one that is lightweight and portable. This allows the projector to be easily moved or installed in different locations.
- Contrast Ratio - Outdoor projectors require a high contrast ratio to produce sharp images. A contrast ratio of at least 10,000:1 is ideal for outdoor use.
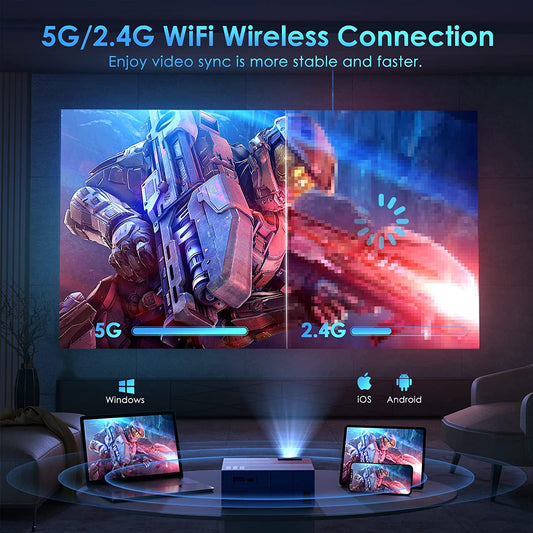
- Connectivity - Projectors should have multiple input options such as HDMI, VGA and USB. This allows you to connect to a variety of devices such as laptops, Blu-ray players, game consoles, and more.
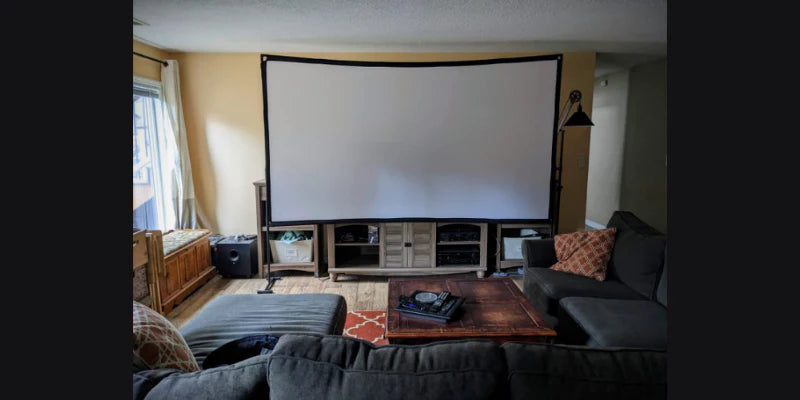
Screen settings
After choosing the right projector, the next step is setting up the screen. Outdoor screens come in a variety of sizes and shapes, allowing you to choose one that fits your needs and budget. Here are some of the most common types of outdoor screens.
- Inflatable Screen - A screen that is inflated using an air pump. It's lightweight, easy to set up, and can be deflated and stored quickly after use.
- Fixed Frame Screens - These screens are permanently attached to the frame to provide a stable and durable viewing experience. Perfect for those who need a permanent outdoor entertainment setup.
- Tripod Screens - These screens come with a tripod stand for easy setup and removal. Perfect for those who need a portable outdoor entertainment setup.
- DIY Screens - You can also make your own outdoor screens using materials such as PVC pipe, blackout cloth, or white sheets. This is a cost-effective option for those looking to set up an outdoor entertainment system on a limited budget.
Projector setup
Once you've selected your screen, it's time to set up your projector. Here are the steps:
- Projector Placement - Find a suitable location for your projector. It should be placed on a stable surface such as a table or tripod stand. The projector should be placed at a distance that allows it to project an image onto the screen. Use your projector's manual or online resources to determine the optimum distance for your particular model.
- Connect the Projector to Power - Connect the projector to an outdoor power source or use an extension cord if necessary.
- Connect Projector to Input Source - Connect the projector to your laptop, Blu-ray player, or other input device using an HDMI, VGA, or USB cable.
- Focus and Zoom Adjustments - Use the projector's focus and zoom controls to adjust the focus and size of the projected image. Adjust the distance between the projector and screen to get the desired image size.
- Keystone adjustment - Keystone is a correction for images that are distorted due to the angle of the projector not being parallel to the screen. Most projectors have a keystone correction feature that allows you to adjust the image so that it is square to the screen. Adjust the keystone until you get a square and straight image.
- Test the image - Turn on the projector and test if the image is bright and clear. Adjust brightness and contrast settings until you get the best image quality.
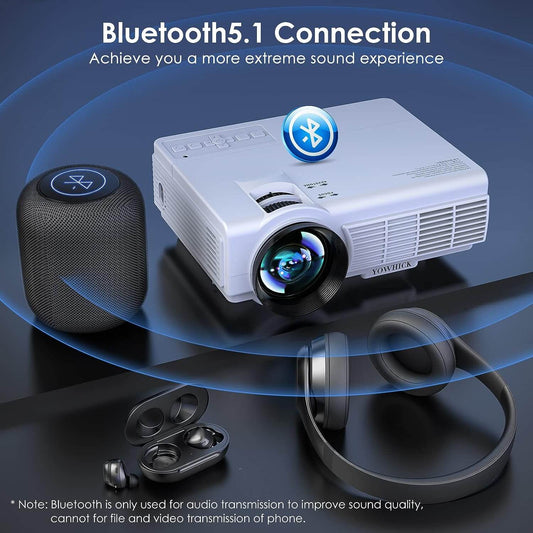
- Audio setup - Audio is required for any outdoor movie experience. Connect external speakers to the projector or use portable Bluetooth speakers.
- Protect your projector - Protect your projector from the elements by covering it with a waterproof cover or bringing it indoors after use.
Tips for a Great Outdoor Viewing Experience
Here are some additional tips to make your outdoor viewing experience great.
- Choose the Right Time - The best time for outdoor viewing is at dusk or after sunset. This allows for the best image quality and reduces ambient light interference.
- Consider the weather - Avoid installing the projector in rainy or windy environments. This can damage the projector and make it difficult to obtain a clear image.
- Use a bug trap - Mosquitoes and other bugs can be a nuisance during outdoor observations. Use a bug trap or citronella candle to keep them away.
- Add Seats and Snacks - Add seating options and snacks for your guests to make your outdoor viewing experience more comfortable.
- Keep safe - Keep cables and cords out of the way to prevent tripping hazards. Also, keep the projector out of reach of children and pets.
Conclusion
Setting up an outdoor projector is a great way to enjoy outdoor entertainment with family and friends. Choose the right projector, screen, and follow the setup process above for the best outdoor viewing experience. Don't forget to protect your projector from the elements and keep it safe from children and pets. With the right setup and a few extra tips, outdoor movies, sporting events and parties can be enjoyed like never before.