Are you ready to take your home theater experience to the next level? Mounting a projector on the ceiling is a fantastic way to create a professional and immersive viewing environment. In this comprehensive guide, we will walk you through the step-by-step process of mounting a projector on the ceiling like a pro. So, let's dive in and get started!
Determine the Ideal Location
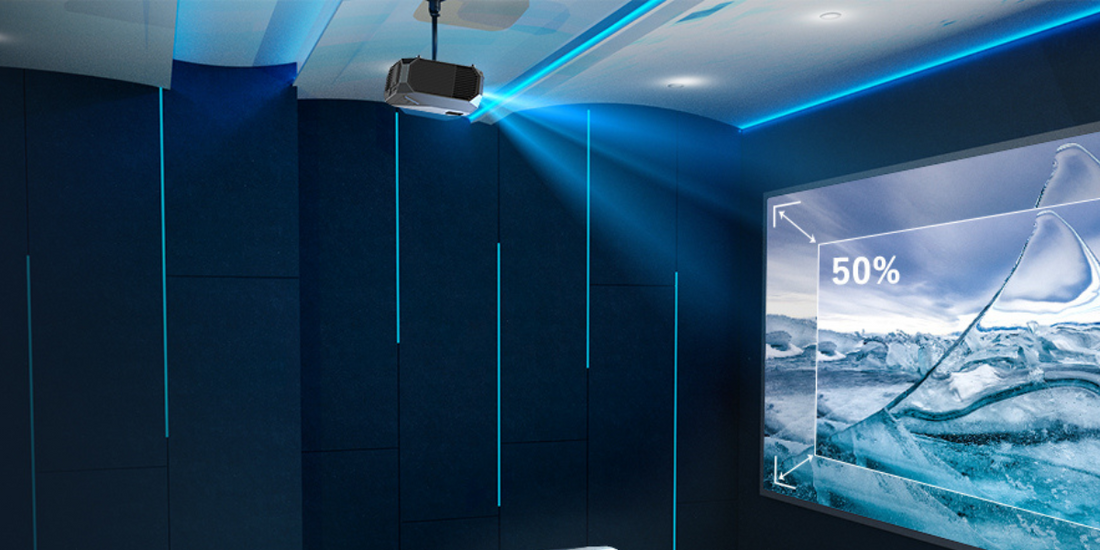
The first step in mounting a projector on the ceiling is to determine the ideal location for installation. Consider factors such as the size of your room, the projector's throw distance, and the viewing angle. Ideally, the projector should be placed in a central position that allows for a clear and unobstructed projection onto the screen or wall.
Gather the Necessary Tools and Equipment
Before you begin the installation process, it's essential to gather all the necessary tools and equipment. Here are some items you will need:
- Projector mount kit: Ensure that the mount kit is compatible with your projector model.
- Power drill and drill bits: Use the appropriate drill bits for your ceiling type.
- Stud finder: This will help you locate the ceiling studs for secure mounting.
- Measuring tape and level: These tools will ensure accurate measurements and alignment.
- Screws, anchors, and other hardware: Check the mount kit instructions for the specific hardware required.
Locate Ceiling Studs
Using a stud finder, locate the ceiling studs in the area where you plan to mount the projector. Mounting the projector directly to the studs will provide the necessary support for its weight. Mark the stud locations using a pencil or tape.
Attach the Mounting Plate
Once you have located the ceiling studs, it's time to attach the mounting plate to the ceiling. Place the mounting plate against the ceiling, aligning it with the marked stud locations. Use a power drill and the appropriate screws to secure the mounting plate to the studs. Make sure the mounting plate is level and securely attached.
Install the Projector Bracket
Next, attach the projector bracket to the bottom of the projector using the provided screws or the ones that came with the projector. Ensure that the bracket is securely fastened to the projector, as it will hold the weight of the device.
Connect Cables and Adjustments
Before mounting the projector to the ceiling, connect the necessary cables, such as HDMI or VGA, to the projector. This step will be easier when the projector is within reach. Adjust the projector's settings and image size to your preference.
Mount the Projector
Now it's time to mount the projector to the ceiling. Carefully lift the projector, align it with the mounting plate on the ceiling, and attach it to the bracket. Refer to the projector mount kit instructions for the specific mounting mechanism. Double-check that the projector is securely fastened and level.
Test and Fine-Tune
Once the projector is mounted, it's crucial to test the projection and make any necessary adjustments. Turn on the projector and check the image quality, focus, and alignment with the screen or wall. Use the projector's adjustment options, such as lens shift or keystone correction, to fine-tune the image for optimal viewing.
Conceal Cables (Optional)
For a clean and professional look, you may choose to conceal the cables running from the projector to the input devices. There are various methods to achieve this, such as running the cables through wall channels or using cable management systems. Select the option that suits your needs and complements the overall aesthetics of your space.
Enjoy Your Home Theater Experience
Mounting a projector on the ceiling is a straightforward process that can significantly elevate your viewing experience. By following the step-by-step guide provided in this article, you can achieve a professional and immersive setup in your home theater or office space. So, gather your tools, locate the ideal spot, and enjoy the big-screen experience right from your ceiling-mounted projector. Happy projecting!