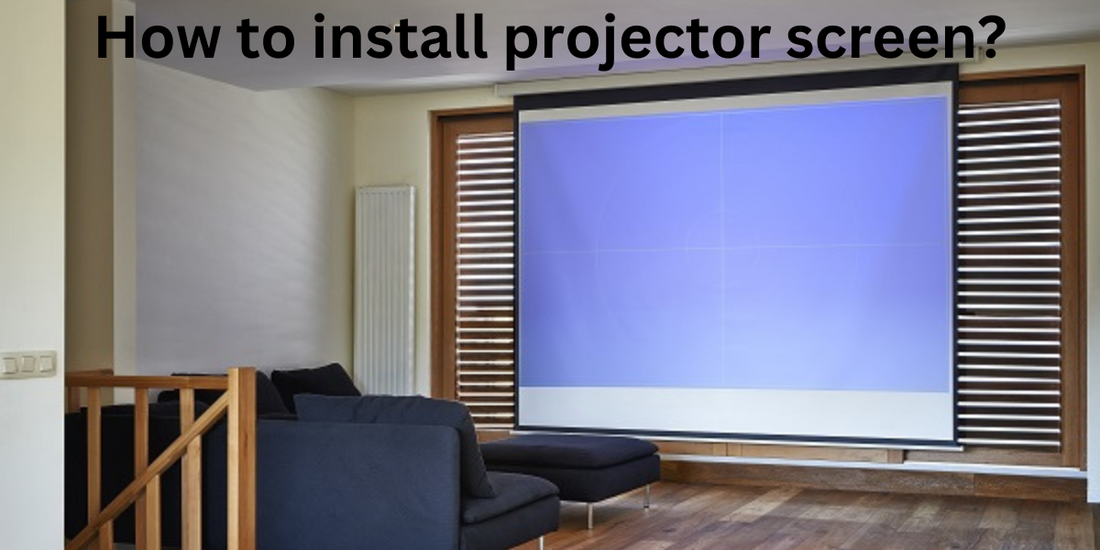
Installing a projector screen is a key step in creating a dedicated home theater or multimedia room. A properly installed projector screen enhances the viewing experience, providing a crisp and immersive image for movies, games, and presentations. In this comprehensive guide, we will walk you through the step-by-step process of installing a projector screen, covering everything from choosing the right screen and location to mounting techniques and screen calibration. So, let's dive in and learn how to install a projector screen like a pro.
Selecting the Right Projector Screen
Before starting the installation process, it's essential to choose the right projector screen for your needs. Consider the following factors when selecting a projector screen:
- Screen Type: Decide on the screen type based on your viewing preferences. Common types include fixed-frame screens, retractable screens, motorized screens, and portable screens. Each has its advantages and considerations.
- Screen Material: The screen material affects image quality, brightness, and viewing angles. Popular materials include matte white, high contrast gray, and acoustically transparent screens. Choose the material that best suits your viewing environment and desired image characteristics.
- Aspect Ratio: Consider the aspect ratio (e.g., 16:9, 16:10, 2.35:1) that matches your projector and content. Ensure that the screen's aspect ratio aligns with your viewing preferences and media sources.
- Screen Size: Determine the ideal screen size based on your room dimensions and viewing distance. Consider the throw distance of your projector and the desired image size for optimal viewing.
Choosing the Installation Location
Selecting the appropriate installation location is crucial for maximizing the projector screen's performance and the viewing experience. Follow these steps to determine the optimal location:
- Consider the Viewing Angle: Choose a location that allows for a comfortable viewing angle for all viewers. Avoid placing the screen too high or low, as it may strain necks or distort the image.
- Ambient Light: Take into account the ambient light conditions in the room. Opt for a location that minimizes glare and offers control over ambient lighting for a better image quality.
- Clearance: Ensure that the chosen location provides sufficient clearance for the screen's dimensions, including its width and height. Consider factors such as furniture, doors, windows, and other obstructions.
- Structural Support: If mounting the screen on a wall, ensure that the wall structure can support the weight of the screen. For ceiling installations, check for suitable ceiling beams or structural supports.
Mounting the Projector Screen
Now that you have chosen the projector screen and determined the installation location, let's go through the steps to mount the screen:
Wall Mounting
- Mark the Position: Use a tape measure and a level to mark the desired height and position of the screen on the wall. Ensure that it is centered and level.
- Locate Wall Studs: Use a stud finder to locate the wall studs within the marked area. Mounting the screen to studs provides optimal stability and support.
- Attach Mounting Brackets: Using appropriate screws and wall anchors, attach the mounting brackets to the wall, aligning them with the marked position and wall studs. Follow the manufacturer's instructions for installation.
- Attach the Screen: Depending on the screen type, align the screen frame with the mounting brackets and secure it in place. Follow the manufacturer's instructions for attaching the screen to the brackets.
Ceiling Mounting
- Mark the Position: Using a tape measure and a level, mark the desired position of the screen on the ceiling. Ensure it is centered and level.
- Locate Ceiling Beams: Use a stud finder or other suitable methods to locate ceiling beams or structural supports within the marked area. Mounting the screen to beams provides optimal stability.
- Install Mounting Hardware: Depending on the screen type, follow the manufacturer's instructions to install the necessary mounting hardware, such as ceiling brackets or hooks, using appropriate screws and anchors.
- Attach the Screen: Align the screen frame with the mounting hardware and secure it in place. Ensure the screen is level and centered. Refer to the manufacturer's instructions for specific attachment guidelines.
Screen Calibration and Final Adjustments
After mounting the projector screen, it's important to calibrate and make final adjustments for optimal performance. Follow these steps:
- Screen Tension: If you have a retractable or motorized screen, ensure the screen is evenly tensioned and free from wrinkles or waves. Consult the manufacturer's instructions for adjusting the tension properly.
- Screen Height Adjustment: Adjust the screen height if necessary to achieve the desired viewing position. Follow the manufacturer's instructions for the specific adjustment mechanism of your screen type.
- Keystone Correction: Use the projector's keystone correction feature, if available, to correct any trapezoidal distortion in the projected image caused by the screen's angle or placement.
- Image Alignment: Adjust the projector's placement and lens shift (if applicable) to align the projected image perfectly within the screen boundaries. Use the projector's zoom and focus controls to optimize image sharpness.
- Calibration and Testing: Calibrate the projector's image settings, such as brightness, contrast, color temperature, and gamma, to achieve the desired image quality. Perform test projections and make adjustments as needed.
Conclusion
Installing a projector screen is a crucial step in creating an immersive and enjoyable viewing experience. By carefully selecting the right screen, choosing an optimal installation location, and following the step-by-step instructions for mounting and adjusting the screen, you can achieve a professional and visually captivating home theater or multimedia setup. Remember to consider factors such as screen type, material, size, and aspect ratio to match your projector and viewing preferences. With proper installation and calibration, you'll be ready to enjoy stunning visuals on your newly installed projector screen.