
The Nintendo Switch is a popular gaming console known for its versatility and ability to provide a captivating gaming experience. If you want to take your gaming to the next level, connecting your Nintendo Switch to a projector can transform your gameplay into an immersive and larger-than-life adventure. However, for those unfamiliar with the process, setting up this connection may seem daunting. In this comprehensive guide, we'll walk you through the step-by-step process of connecting your Nintendo Switch to a projector. Whether you're a casual gamer or a dedicated enthusiast, follow these instructions to unlock a whole new dimension of gaming excitement.
1. Check Compatibility
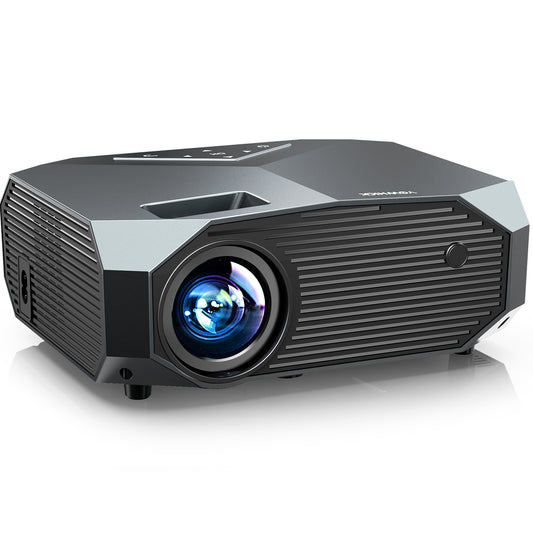
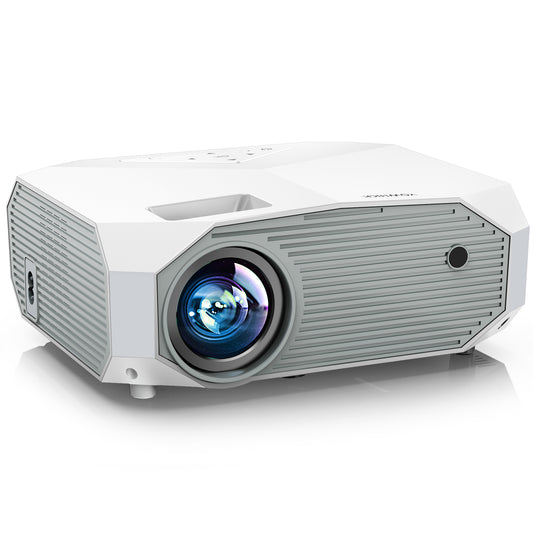
Before proceeding with the setup, it's essential to ensure that both your Nintendo Switch and the projector are compatible for connection. The Nintendo Switch comes with a built-in HDMI output port, making it compatible with most projectors that have an HDMI input. Verify that your projector has an available HDMI port to establish the connection.
2. Gather the Necessary Cables
To connect your Nintendo Switch to a projector, you'll need an HDMI cable, which is the standard for high-definition video and audio transmission. The Nintendo Switch typically comes with an HDMI cable in the box, but you can also use third-party HDMI cables if needed.
3. Position the Projector
Decide on the ideal location for your projector and ensure it has sufficient distance from the projection screen or wall for the desired image size. Consider factors like ambient light, room size, and seating arrangement to optimize your gaming experience. Position your Nintendo Switch console nearby and make sure it's within reach of the projector's HDMI cable.
4. Power Off All Devices
Before connecting anything, power off your Nintendo Switch, projector, and any other devices involved in the setup. This ensures a safe and smooth connection without the risk of damaging any equipment.
5. Connect the HDMI Cable
Now it's time to connect your Nintendo Switch to the projector. Take one end of the HDMI cable and plug it into the HDMI output port on your Nintendo Switch. Then, connect the other end of the cable into the HDMI input port on your projector.
6. Power On Your Devices
With the HDMI cable securely connected, turn on your Nintendo Switch and projector. Allow both devices a few moments to initialize and recognize each other.
7. Adjust Display Settings on Nintendo Switch
In most cases, your projector will automatically detect the input from your Nintendo Switch and display the content accordingly. However, it's essential to verify the display settings on your Nintendo Switch to ensure the best output quality. To do this, follow these steps:
- Power on your Nintendo Switch and navigate to the "System Settings" menu.
- Select "TV Output" and then choose "TV Resolution."
- Adjust the resolution settings to match your projector's native resolution. Generally, the projector's native resolution is optimal for the best image quality.
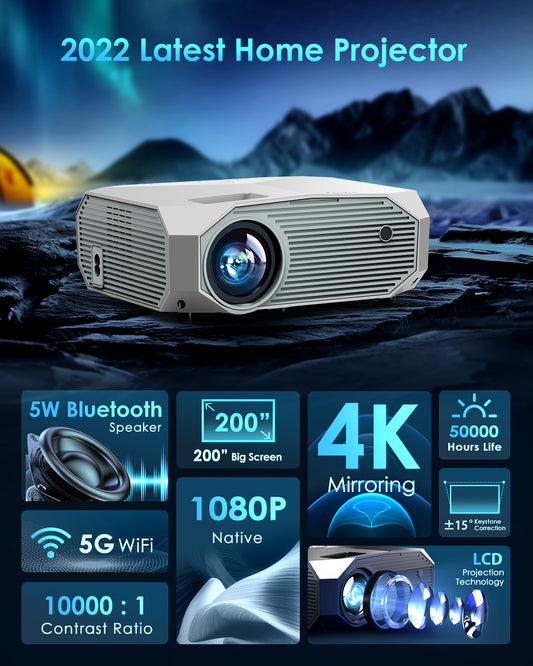
8. Fine-Tune Projector Settings
After setting up your Nintendo Switch, focus on optimizing the projector settings for gaming performance. Calibrate the brightness, contrast, color balance, and other relevant settings to ensure vibrant and clear visuals.
9. Check Audio Settings
In addition to video output, you'll need to configure the audio settings for an immersive gaming experience. Check if your projector has built-in speakers or any available audio output options. Alternatively, you can connect external speakers or gaming headphones to enhance the audio quality.
10. Input Selection
Some projectors have multiple input options, such as HDMI, VGA, or DVI. Ensure your projector is set to the correct input source (HDMI) to display content from your Nintendo Switch.
11. Gaming Accessories and Controllers
As you dive into gaming on the big screen, don't forget to use gaming accessories such as controllers, Joy-Cons, or Pro Controllers to enhance your gameplay further.
Conclusion
Connecting your Nintendo Switch to a projector is a simple process that can elevate your gaming experience to new heights. By following the step-by-step instructions in this guide, you can immerse yourself in larger-than-life gaming worlds right from the comfort of your living room. Remember to check compatibility, gather the necessary cables, optimize the display and audio settings, and use gaming accessories to unlock the full potential of your Nintendo Switch and projector setup. Now, get ready to embark on epic gaming adventures on the big screen!