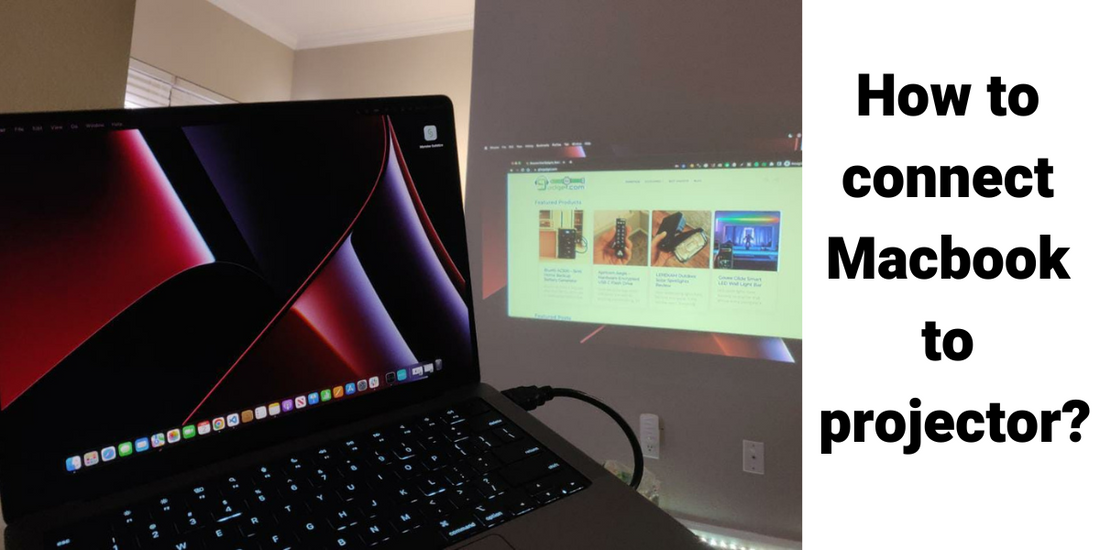
In today's digital age, presentations, slideshows, and multimedia content have become integral parts of professional and educational settings. When it comes to displaying your MacBook's screen on a larger scale, connecting it to a projector is the ideal solution. Whether you're preparing for a business meeting, delivering a lecture, or hosting a movie night, the ability to connect your MacBook to a projector opens up a world of possibilities. In this comprehensive guide, we will walk you through the step-by-step process of connecting your MacBook to a projector, ensuring a seamless and efficient connection every time.
Step 1: Gather the Necessary Equipment
Before you begin the connection process, it's essential to ensure that you have all the necessary equipment at hand. Here's a list of items you will need:
- MacBook: Make sure your MacBook is in working condition and has a functioning video output port.
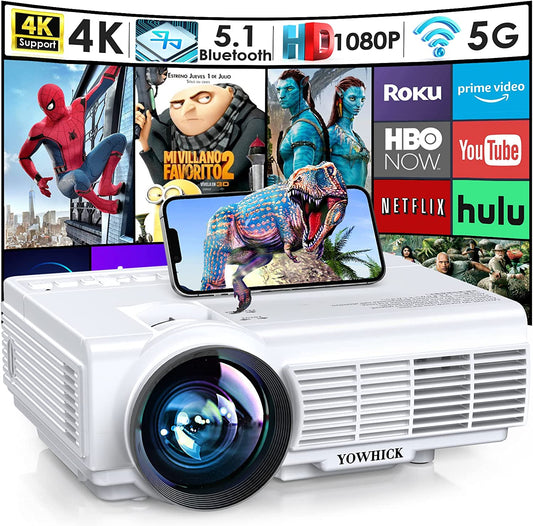
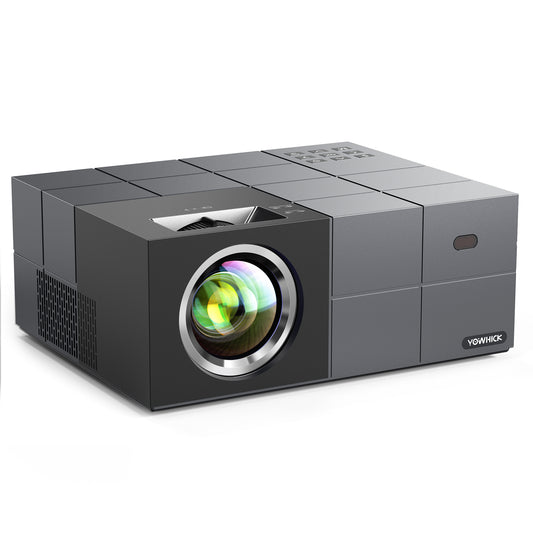
- Projector: Choose a compatible projector with the necessary ports to connect to your MacBook. Common port options include VGA, HDMI, and USB-C.
- Adapter or Cable: Depending on the ports available on your MacBook and the projector, you may need an adapter or cable to bridge the connection. For example, if your MacBook has a USB-C port and the projector has an HDMI port, you will need a USB-C to HDMI adapter or cable.
- Power Cords: Ensure that both your MacBook and the projector are connected to a power source. This prevents any potential power issues during the connection process.
Step 2: Determine the Appropriate Connection Method
Once you have gathered all the necessary equipment, you need to determine the appropriate connection method based on the available ports on your MacBook and the projector. Here are some common connection methods:
- HDMI Connection: If your MacBook and the projector both have HDMI ports, connecting them using an HDMI cable is the most straightforward method. Simply plug one end of the HDMI cable into the MacBook's HDMI port and the other end into the projector's HDMI port.
- USB-C Connection: Many newer MacBook models feature USB-C ports, which offer versatile connectivity options. If your projector has a USB-C port, you can directly connect the MacBook to the projector using a USB-C to USB-C cable.
- VGA Connection: If your MacBook and the projector have VGA ports, you will need a VGA cable to establish the connection. Connect one end of the VGA cable to the MacBook's VGA port (or the appropriate adapter) and the other end to the projector's VGA port.
- Adapter Connection: In cases where your MacBook and the projector have different port types, you may need an adapter to bridge the connection. For example, if your MacBook has a USB-C port and the projector has a VGA port, you will need a USB-C to VGA adapter. Simply connect the adapter to your MacBook and then use the appropriate cable (e.g., VGA cable) to connect the adapter to the projector.
Step 3: Connect Your MacBook to the Projector
Now that you have determined the appropriate connection method, it's time to physically connect your MacBook to the projector. Follow these steps:
- Power on the projector and ensure it is in the correct input mode to receive signals from the MacBook.
- Connect one end of the cable or adapter to the appropriate port on your MacBook.
- Connect the other end of the cable or adapter to the corresponding port on the projector.
- Once the physical connection is established, power on your MacBook.
Step 4: Configure Display Settings on Your MacBook
After connecting your MacBook to the projector, you may need to configure the display settings to ensure the proper output. Here's how you can configure the display settings on your MacBook:
- Click on the Apple menu located at the top left corner of your MacBook's screen.
- Select "System Preferences" from the drop-down menu.
- In the System Preferences window, click on "Displays."
- A new window will open, displaying the available display options. You should see two screens represented: one for your MacBook and one for the projector.
- Click on the "Arrangement" tab to adjust the position and orientation of the screens. You can drag the white bar representing your MacBook's screen to position it relative to the projector's screen. This allows you to align the screens according to your desired setup.
- Ensure that the "Mirror Displays" option is selected if you want the same content to be displayed on both your MacBook and the projector. If you prefer to extend your desktop to the projector, leave the "Mirror Displays" option unchecked.
- Adjust the resolution settings if needed. You can choose the optimal resolution for your projector by selecting it from the available options.
- Close the Display settings window once you have configured the desired settings.
Step 5: Test the Connection
To ensure a successful connection, it's important to test the setup before your actual presentation or event. Follow these steps to test the connection between your MacBook and the projector:
- Play a video or open a document on your MacBook.
- Verify that the content is being displayed on the projector screen.
- Check for any issues such as distorted images, flickering, or incorrect aspect ratios. If you encounter any problems, double-check the physical connections and display settings on your MacBook.
- Adjust the projector's focus and other settings as necessary to achieve optimal image quality.
Conclusion
Connecting your MacBook to a projector opens up a world of possibilities for presentations, sharing content, and enjoying multimedia on a larger screen. By following the step-by-step guide outlined in this article, you can easily connect your MacBook to a projector and ensure a seamless and efficient connection every time.
Remember to gather the necessary equipment, determine the appropriate connection method based on available ports, physically connect your MacBook to the projector, configure display settings, and test the connection before your actual presentation or event. With a properly connected and configured setup, you can deliver impactful presentations, share engaging content, and enjoy immersive multimedia experiences with ease.

