In today's digital age, iPhones have become powerful multimedia devices capable of handling a wide range of tasks. Whether you're delivering a presentation, sharing videos or photos, or enjoying multimedia content, connecting your iPhone to a projector wirelessly can significantly enhance your experience. This comprehensive guide will provide you with step-by-step instructions on how to connect your iPhone to a projector wirelessly, allowing you to seamlessly display your content on a larger screen without the hassle of cables.
Checking Compatibility and Requirements
Before diving into the wireless connection process, it's important to ensure compatibility between your iPhone and the projector. Here are the initial steps to consider:
- Confirm Wireless Projection Compatibility: Check if your projector supports wireless projection. Look for projectors that offer AirPlay or screen mirroring functionality, as these features enable wireless connections with Apple devices, including iPhones.
- Verify iPhone Compatibility: Ensure that your iPhone supports wireless projection. iPhones running iOS 9 or later have built-in AirPlay functionality, allowing them to wirelessly connect to compatible projectors. Make sure your iPhone is updated to the latest iOS version for the best compatibility and performance.
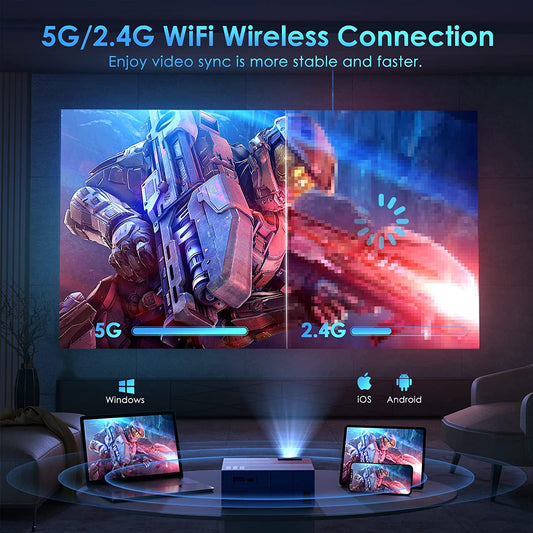
- Connect to the Same Wi-Fi Network: Both your iPhone and the projector need to be connected to the same Wi-Fi network for wireless projection to work. Ensure that your iPhone is connected to a reliable Wi-Fi network before proceeding.
Connecting the iPhone to the Projector Wirelessly
Once compatibility and requirements are confirmed, follow these step-by-step instructions to connect your iPhone to a projector wirelessly:
- Power On the Projector: Turn on the projector and allow it to warm up. Refer to the projector's manual for specific instructions on the power-up process.
- Access the Control Center: On your iPhone, swipe down from the top-right corner of the screen (for iPhone X and later) or swipe up from the bottom of the screen (for iPhone models with a Home button) to access the Control Center.
- Enable AirPlay or Screen Mirroring: In the Control Center, tap on the "Screen Mirroring" or "AirPlay" button. This will initiate the search for available devices to connect to.
- Select the Projector: From the list of available devices, select the name of the projector you want to connect to. Make sure the projector is turned on and visible on the network.
- Enter the AirPlay Code (if prompted): Some projectors may require an AirPlay code to establish a secure connection. If prompted, enter the code displayed on the projector screen into your iPhone to complete the connection.
Adjusting Projection Settings and Displaying Content
After successfully connecting your iPhone to the projector wirelessly, you may need to adjust some projection settings and start displaying your desired content. Follow these steps:
- Adjust Display Orientation: Depending on the orientation of your projector setup, you may need to adjust the display orientation on your iPhone. Swipe up from the bottom of the screen to access the Control Center and tap on the "Orientation Lock" button to lock or unlock the screen rotation.
- Control Content Playback: Once the connection is established, you can control the playback of your content directly from your iPhone. Use the media controls on your iPhone to play videos, view photos, or navigate through your desired content.
- Customize Projection Settings: Some projectors offer additional customization options for projection settings. Consult the projector's manual or on-screen menu to adjust aspects like screen size, brightness, and color settings to optimize the projection quality.
Troubleshooting Common Issues
While wireless projection is generally straightforward, you may encounter some issues along the way that can hinder the wireless connection between your iPhone and the projector. Here are some common problems and their potential solutions:
No Projector Found
- Ensure that both your iPhone and the projector are connected to the same Wi-Fi network.
- Check if the projector's wireless projection feature is enabled and functioning properly.
- Restart both your iPhone and the projector, and attempt the connection process again.
Unstable or Laggy Connection
- Check the signal strength of your Wi-Fi network. A weak or unstable Wi-Fi connection can affect the performance of the wireless projection. Move closer to the Wi-Fi router or consider connecting to a more stable network.
- Reduce the distance between your iPhone and the projector to improve the signal strength.
- Avoid interference from other wireless devices or objects that may obstruct the Wi-Fi signal.
Audio Sync Issues
- If you experience audio syncing problems while playing videos or multimedia content, try adjusting the audio delay settings on the projector, if available.
- Alternatively, connect external speakers or audio devices directly to the projector for better audio synchronization.
Conclusion
Wirelessly connecting your iPhone to a projector opens up a world of possibilities for sharing and presenting content on a larger screen. With the convenience of AirPlay or screen mirroring, you can seamlessly display videos, photos, presentations, and more without the need for cables. With this guide, you can make the most of your iPhone's capabilities and create impactful visuals with ease.


