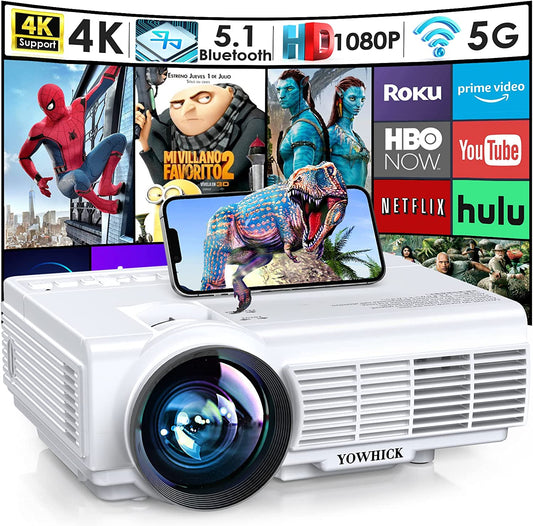
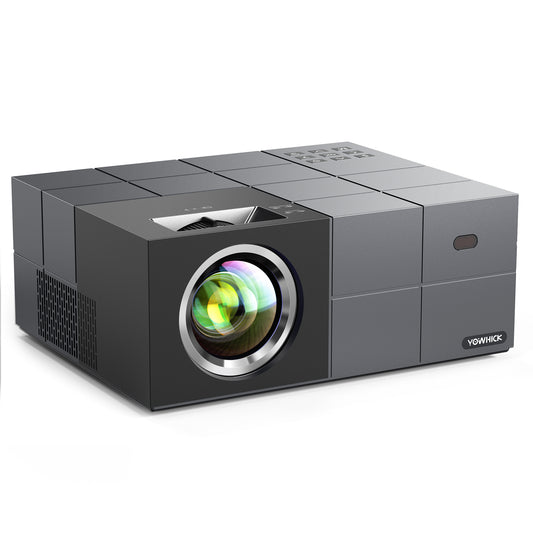
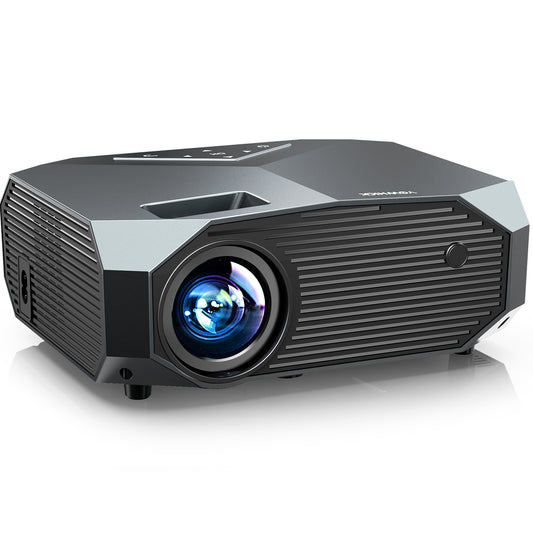
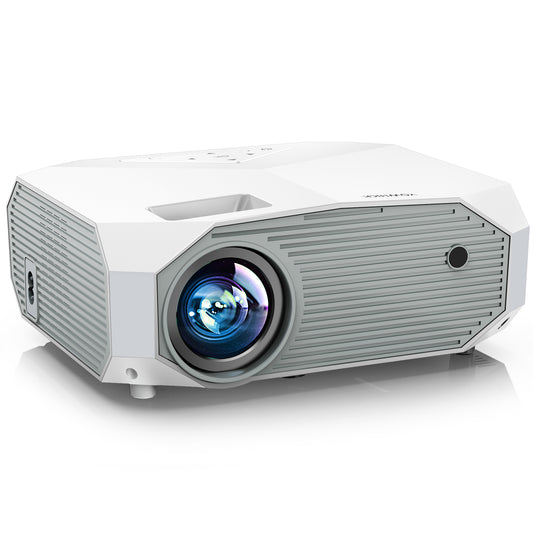
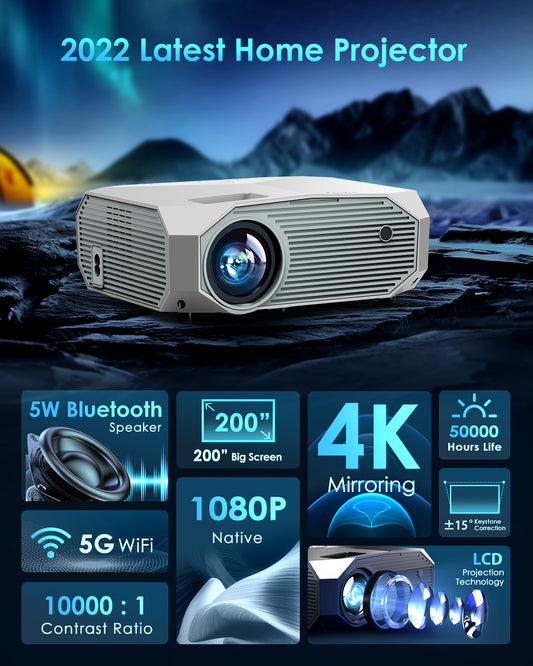
Connecting your Firestick to a projector can open up a world of entertainment possibilities. Whether you want to enjoy movies, stream your favorite shows, or play games on a big screen, connecting the Firestick to a projector is a simple process. In this guide, we will walk you through the steps required to connect your Firestick to a projector and enhance your viewing experience.
Gather the Necessary Equipment
Before you begin, make sure you have the following equipment handy:
- Firestick: This is a streaming device that plugs into the HDMI port of your projector.
- Projector: Choose a projector that has an HDMI input port, as most Firestick models use HDMI for video and audio transmission.
- HDMI Cable: You will need an HDMI cable to connect the Firestick to the projector. Ensure that the cable is long enough to reach from the Firestick to the projector.
Step 1: Connect the Firestick to the Projector
To start, follow these steps:
- Locate the HDMI port on your projector and insert one end of the HDMI cable into it.
- Take the other end of the HDMI cable and connect it to the HDMI port on your Firestick.
- Once the HDMI cable is securely connected to both devices, power on your projector.
Step 2: Power Up the Firestick
After connecting the Firestick to the projector, it's time to power it up. Follow these instructions:
- Connect the power adapter to your Firestick and plug it into a power source.
- Power on your TV or projector and switch the input source to the HDMI port where the Firestick is connected.
- Grab the Firestick remote and press the Home button to turn on the Firestick.
Step 3: Set Up Firestick on the Projector
Now that the Firestick is powered up, let's set it up on the projector:
- Use the Firestick remote to navigate through the on-screen setup instructions.
- Select your preferred language and connect the Firestick to your Wi-Fi network.
- Once connected, the Firestick will automatically check for updates. If any updates are available, allow the Firestick to install them.
- After the updates are installed, sign in to your Amazon account or create a new one if you don't have an account yet.
- Follow the prompts to complete the setup process, including setting up parental controls if necessary.
Step 4: Adjust Display Settings
To ensure the best viewing experience, it's important to adjust the display settings:
- On the Firestick home screen, navigate to "Settings" using the Firestick remote.
- Select "Display & Sounds" and then choose "Display."
- From the available options, select the appropriate resolution for your projector. It's recommended to use the native resolution of your projector for the best picture quality.
- You can also adjust other settings like screen size, color depth, and overscan if needed.
Step 5: Enjoy Your Firestick on the Projector
Now that your Firestick is connected to the projector and the settings are adjusted, you're ready to enjoy your favorite content on the big screen:
- Navigate to the Firestick home screen using the remote.
- Choose the desired streaming app or game you want to use.
- Select the content you want to watch or play and enjoy it on the projector.
- Use the Firestick remote to control playback, adjust volume, and navigate through menus.
Troubleshooting Tips
Sometimes, you may encounter issues while connecting your Firestick to a projector. Here are a few troubleshooting tips to help you resolve common problems:
- Check the HDMI Connection: Ensure that the HDMI cable is securely connected to both the Firestick and the projector. Sometimes, a loose connection can result in a blank screen or poor video quality.
- Verify the Input Source: Double-check that the projector is set to the correct HDMI input source. If the projector has multiple HDMI ports, make sure you've selected the one where the Firestick is connected.
- Restart the Devices: If you're experiencing issues, try restarting both the Firestick and the projector. Unplug them from the power source, wait for a few seconds, and then plug them back in. This can help resolve minor glitches.
- Use a Different HDMI Port/Cable: If you're still encountering problems, try using a different HDMI port on the projector or test with a different HDMI cable. Sometimes, faulty ports or cables can cause connectivity issues.
- Update Firmware: Ensure that both your Firestick and projector have the latest firmware updates installed. Outdated firmware can sometimes lead to compatibility issues.
- Adjust Resolution: If the display appears distorted or doesn't fit the screen properly, go to the Firestick settings and experiment with different display resolutions until you find the one that works best for your projector.
- Check Projector Settings: Some projectors have specific settings related to HDMI inputs, such as HDMI CEC or HDMI-Link. Make sure these settings are enabled if available, as they can enhance the compatibility and functionality between the Firestick and the projector.
Conclusion
Connecting your Firestick to a projector can transform your entertainment experience by providing a larger-than-life display for movies, shows, and games. By following the steps outlined in this guide, you can easily connect your Firestick to a projector and enjoy your favorite content on the big screen. Remember to gather the necessary equipment, connect the devices, set up the Firestick, adjust display settings, and troubleshoot any issues that may arise. With a seamless connection, you'll be able to immerse yourself in a whole new level of entertainment.


