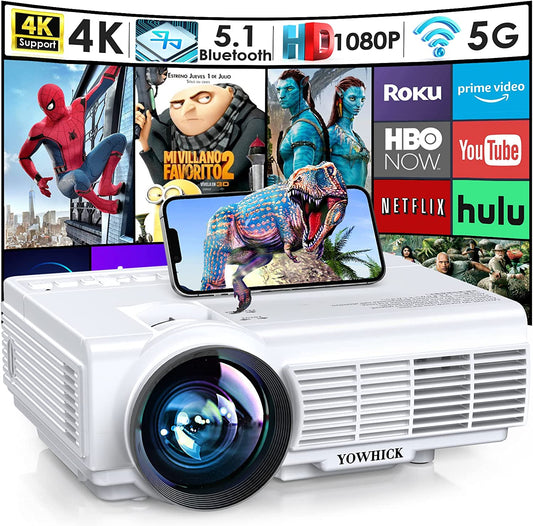
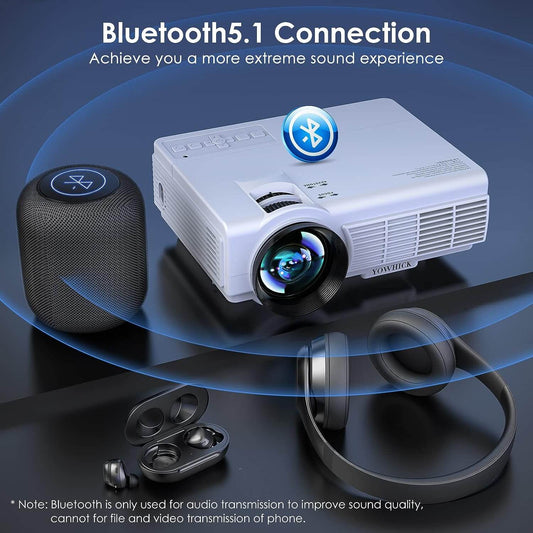
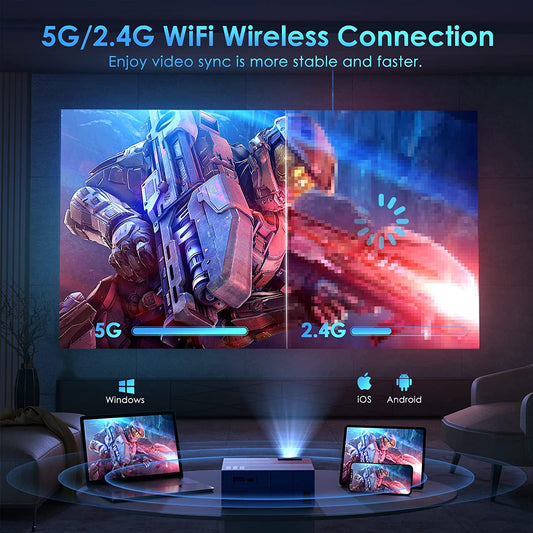
In today's technology-driven world, Chromebooks have become increasingly popular due to their simplicity, speed, and affordability. These lightweight laptops are widely used in educational institutions, offices, and even homes. One common requirement in such settings is connecting a Chromebook to a projector for presentations, meetings, or multimedia purposes. This step-by-step guide will walk you through the process of connecting your Chromebook to a projector, ensuring a seamless and professional experience.
Checking Compatibility and Gathering Equipment
Before diving into the connection process, it's essential to ensure compatibility between your Chromebook and the projector. Here's what you need to do:
- Confirming Port Availability: Check if your Chromebook and the projector have compatible ports. Most Chromebooks come equipped with either an HDMI or USB-C port, while projectors commonly feature HDMI, VGA, or DisplayPort options. Match the available ports to ensure seamless connectivity.
- Gathering Required Equipment: Depending on the port types, you may need specific cables or adapters. Here are some commonly used options:
- HDMI to HDMI cable: Suitable when both your Chromebook and projector have HDMI ports.
- USB-C to HDMI adapter: Necessary if your Chromebook has a USB-C port and the projector has an HDMI port.
- USB-C to VGA adapter: Needed when your Chromebook has a USB-C port, but the projector only supports VGA connectivity.
- DisplayPort to HDMI adapter: Required if your Chromebook has a DisplayPort, but the projector only supports HDMI.
Connecting the Chromebook to the Projector
Once you have the necessary equipment, follow these steps to establish a successful connection between your Chromebook and the projector:
- Power Off Both Devices: Turn off both your Chromebook and the projector before starting the connection process. This prevents any potential damage and ensures a smooth setup.
- Connect the Cable or Adapter: Depending on the available ports, connect the appropriate cable or adapter to your Chromebook. Ensure a secure connection, and if using an adapter, connect the cable to the adapter and then to the Chromebook.
- Connect to the Projector: Attach the other end of the cable or adapter to the corresponding port on the projector. Make sure the connection is secure.
- Power On the Projector: Turn on the projector and allow it to warm up. Refer to the projector's manual for specific instructions on the power-up process.
- Power On the Chromebook: Switch on your Chromebook and wait for it to boot up completely.
Configuring Chromebook Display Settings
-
Access the Display Settings: Click on the system clock in the bottom-right corner of the screen, then select the gear-shaped Settings icon. In the Settings menu, click on "Displays" or "Screen" to access the display settings.
-
Adjust Display Mode: Under the display settings, you'll find options for adjusting the display mode. Choose the option that suits your needs:
- "Mirror" or "Duplicate": Displays the same content on both the Chromebook screen and the projector.
- "Extend": Treats the projector as a secondary display, providing additional screen space.
- "Second screen only": Turns off the Chromebook screen, using only the projector for display.
-
Configure Resolution and Orientation: Adjust the resolution and screen orientation according to your preferences. Higher resolutions may provide better image quality, but ensure the projector supports the chosen resolution.
-
Test the Connection: To ensure the connection is working correctly, play a video or open a document on your Chromebook and check if it displays correctly on the projector. Make any necessary adjustments to the display settings until you achieve the desired output.
Troubleshooting Common Issues
Sometimes, despite following the steps correctly, you may encounter issues while connecting your Chromebook to a projector. Here are some common problems and their potential solutions:
-
No Signal on the Projector:
- Ensure that all cables and adapters are securely connected.
- Try a different HDMI or VGA port on the projector.
- Restart both the Chromebook and the projector.
- Check if the projector is set to the correct input source.
-
Distorted or Flickering Display:
- Check the cable or adapter for any damage and replace if necessary.
- Adjust the display resolution on the Chromebook to match the projector's supported resolution.
- Update the Chromebook's graphics drivers to the latest version.
-
Audio Not Working:
- Confirm that the audio cable is properly connected to both the Chromebook and the projector.
- Check the audio settings on the Chromebook and ensure the correct output source is selected.
- Test the audio output by connecting headphones or external speakers directly to the Chromebook.
Conclusion
Connecting a Chromebook to a projector is a relatively straightforward process that can greatly enhance your presentation and collaboration experiences. By following the steps outlined in this guide, you can establish a reliable connection and configure the display settings to achieve optimal projection quality. Embrace the versatility and convenience of your Chromebook and elevate your visual presentations to the next level.


