
Are you ready to take your iPad experience to the next level? Connecting your iPad to a projector opens up a world of possibilities, allowing you to share presentations, videos, and photos on a larger screen with greater impact. Whether you're a student, professional, or simply someone who loves to share content, this comprehensive guide will walk you through the step-by-step process of connecting your iPad to a projector.
Exploring Different Connection Methods: Find the Right Option for Your Setup
Connecting an iPad to a projector opens up a world of possibilities for sharing and presenting your content on a larger screen. Fortunately, there are multiple connection methods available, each with its own advantages and compatibility requirements. Let's delve into the different ways you can connect your iPad to a projector:
Wired Connection via HDMI Adapter
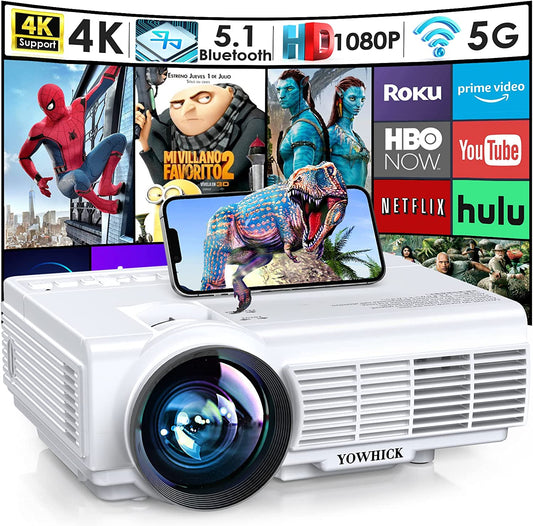
One of the most reliable and widely used methods is to connect your iPad to a projector using an HDMI adapter. This method allows for a direct and high-quality connection between the two devices. Simply connect the HDMI adapter to your iPad's Lightning or USB-C port and then connect the HDMI cable from the adapter to the projector. This method supports both video and audio transmission, providing a seamless multimedia experience.
Wireless Connection via Apple TV or AirPlay-Compatible Projector
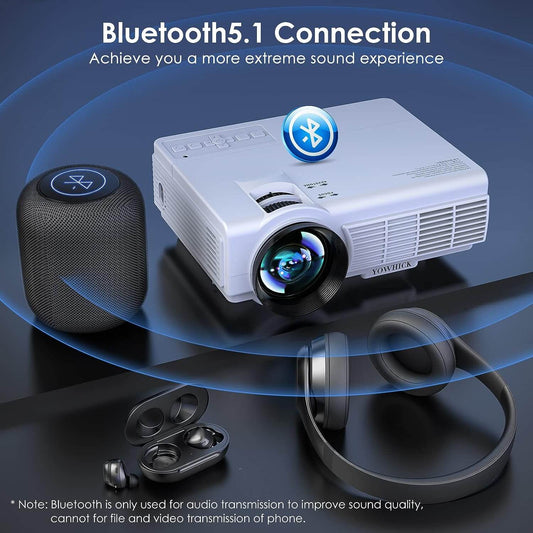
If you prefer a wireless setup, you can utilize Apple TV or an AirPlay-compatible projector. Apple TV acts as an intermediary device, allowing you to mirror your iPad's screen wirelessly. Connect Apple TV to the projector using an HDMI cable, and then use AirPlay to wirelessly stream your iPad's display to the projector. This method provides flexibility and convenience, especially for situations where you need to move around while presenting.
Wireless Connection via Mirroring Devices
There are several third-party mirroring devices available in the market that enable wireless connectivity between your iPad and a projector. These devices often work by creating a Wi-Fi network to facilitate the connection. Some popular options include devices like Chromecast, Roku, and Miracast. Simply connect the mirroring device to the projector, ensure your iPad and the mirroring device are on the same Wi-Fi network, and follow the device-specific instructions for screen mirroring.
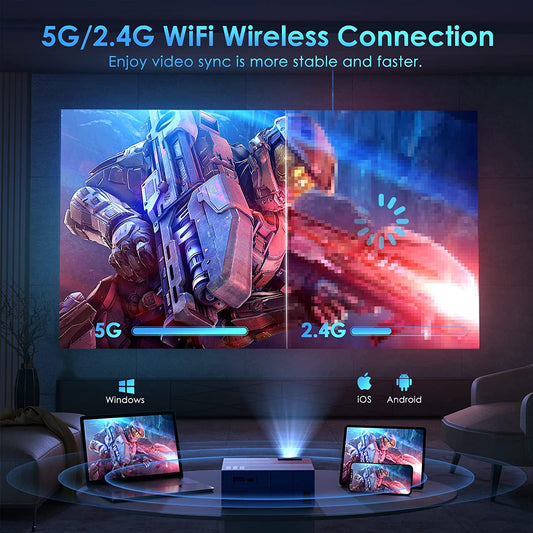
Wireless Connection via VGA or HDMI Wireless Adapter
If your projector only supports VGA or HDMI input, you can opt for a wireless adapter specifically designed for these connections. These adapters plug into your iPad's charging port and wirelessly transmit the video signal to the projector. They offer a cable-free solution while still delivering high-quality video output.
Setting Up Your iPad and Projector: Step-by-Step Guide
Now that you have an overview of the different connection methods, let's dive into the step-by-step process of connecting your iPad to a projector. Follow these instructions to ensure a smooth and successful setup:
Step 1: Gather the Required Equipment
Depending on the connection method you choose, gather the necessary equipment, including an HDMI adapter, HDMI cable, Apple TV, AirPlay-compatible projector, mirroring device, or wireless adapter. Ensure that all the components are in working condition and compatible with your iPad and projector.
Step 2: Power On the Projector
Connect the projector to a power source and turn it on. Allow the projector to warm up and reach its optimal operating state.
Step 3: Connect Your iPad to the Projector
Follow the specific instructions for your chosen connection method:
- For a wired connection via HDMI adapter, connect the adapter to your iPad's Lightning or USB-C port. Then, connect one end of the HDMI cable to the adapter and the other end to the projector's HDMI input.
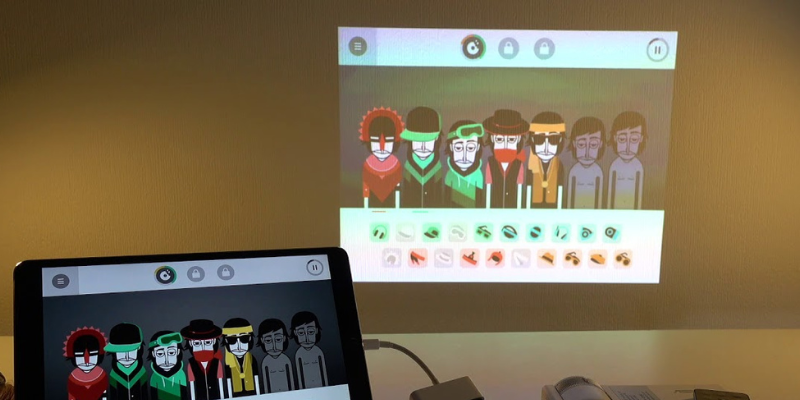
- For a wireless connection using Apple TV or an AirPlay-compatible projector, ensure that Apple TV is connected to the projector via an HDMI cable. On your iPad, swipe up from the bottom of the screen to open the Control Center, tap on "Screen Mirroring," and select "Apple TV" or the name of your AirPlay-compatible projector. Your iPad will establish a wireless connection and mirror its screen on the projector.
- For a wireless connection using a mirroring device, connect the mirroring device to the projector according to the manufacturer's instructions. Make sure your iPad and the mirroring device are connected to the same Wi-Fi network. Open the device-specific app on your iPad and follow the prompts to establish the wireless connection and mirror your screen.
- For a wireless connection using a VGA or HDMI wireless adapter, plug the adapter into your iPad's charging port. Turn on the adapter and follow the manufacturer's instructions to connect it to the projector. Once connected, your iPad will wirelessly transmit the video signal to the projector.
Step 4: Adjust the Projector Settings
Once your iPad is connected to the projector, you may need to adjust the projector's settings to optimize the display. Use the projector's remote control or on-screen menu to adjust parameters such as brightness, contrast, and aspect ratio. Experiment with the settings to achieve the desired image quality and alignment.
Step 5: Enjoy Your Content on the Big Screen
With the connection established and settings adjusted, it's time to enjoy your content on the big screen. Whether you're giving a presentation, watching movies, or sharing photos, your iPad's screen will be mirrored on the projector, providing an immersive viewing experience for you and your audience.
Troubleshooting Tips: Resolving Common Issues
While connecting an iPad to a projector is generally straightforward, you may encounter some common issues along the way. Here are a few troubleshooting tips to help you resolve these issues quickly:
- No Signal: If you're not seeing any signal on the projector, ensure that all the connections are secure. Check that the HDMI cable is properly connected or that the wireless connection is established. Restart your iPad and the projector if necessary.
- Audio Issues: If you're experiencing audio issues, check the audio settings on your iPad and the projector. Ensure that the volume is not muted or set to a low level. If you're using a wired connection, confirm that the audio is being transmitted through the HDMI cable.
- Incompatible Display or Distorted Image: If the projected image appears distorted or doesn't fit the screen properly, check the resolution settings on your iPad and the projector. Adjust the resolution to match the projector's native resolution for optimal display quality.
- Unstable Wireless Connection: If you're using a wireless connection and experiencing a weak or unstable signal, ensure that your iPad and the mirroring device or Apple TV are within close proximity. Minimize interference from other electronic devices and objects that may obstruct the wireless signal.
Conclusion
Connecting your iPad to a projector opens up a world of possibilities for sharing, presenting, and enjoying multimedia content on a larger screen. Whether you opt for a wired or wireless connection, following the step-by-step instructions and troubleshooting tips outlined in this guide will ensure a seamless setup process. Enjoy the versatility and convenience of showcasing your iPad's screen on a big screen and captivate your audience with stunning visuals and engaging content.