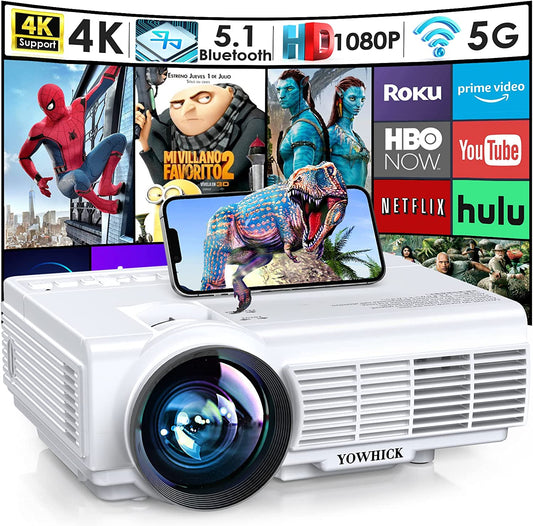
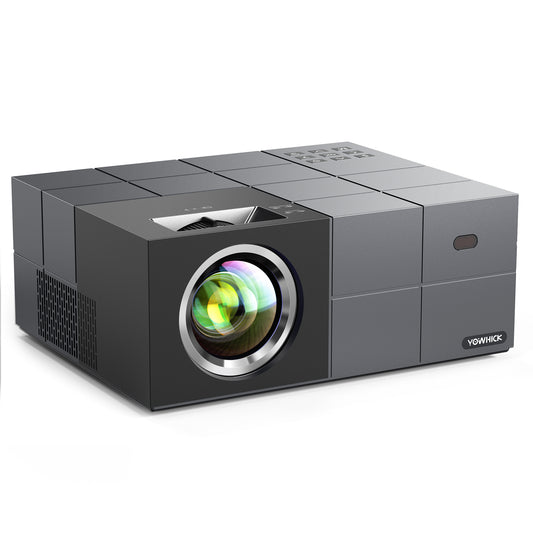
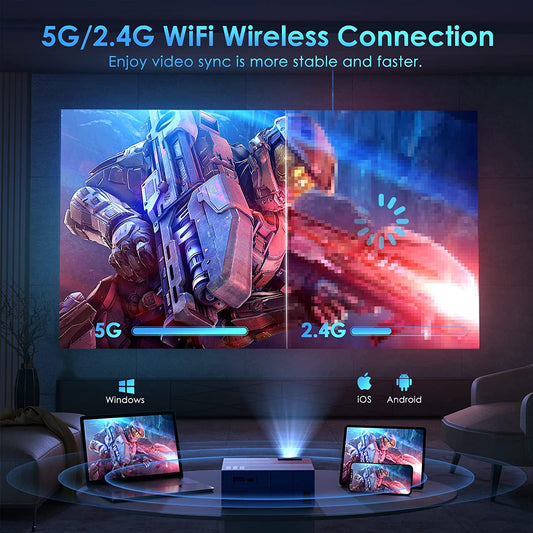
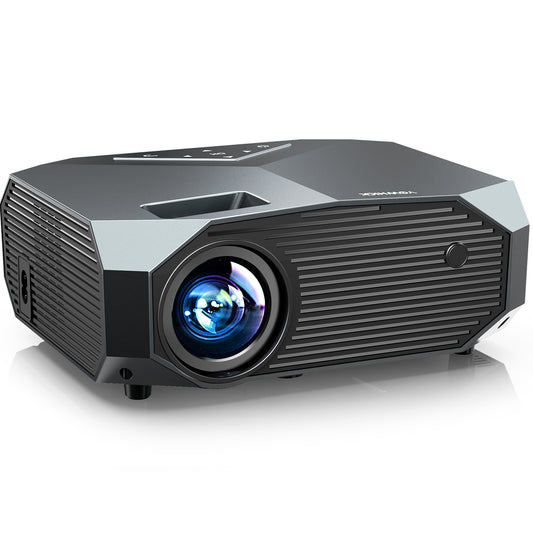
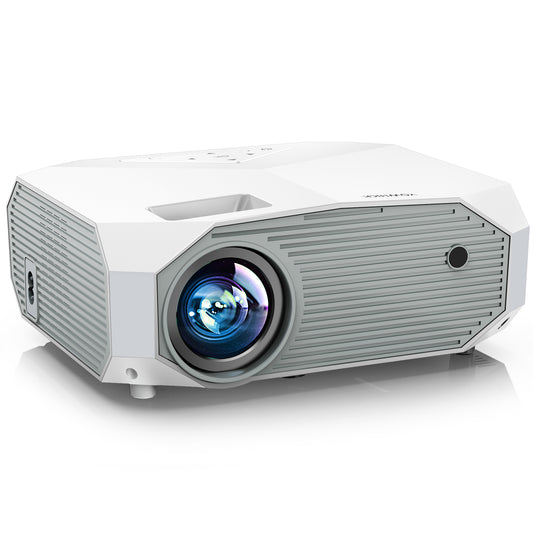
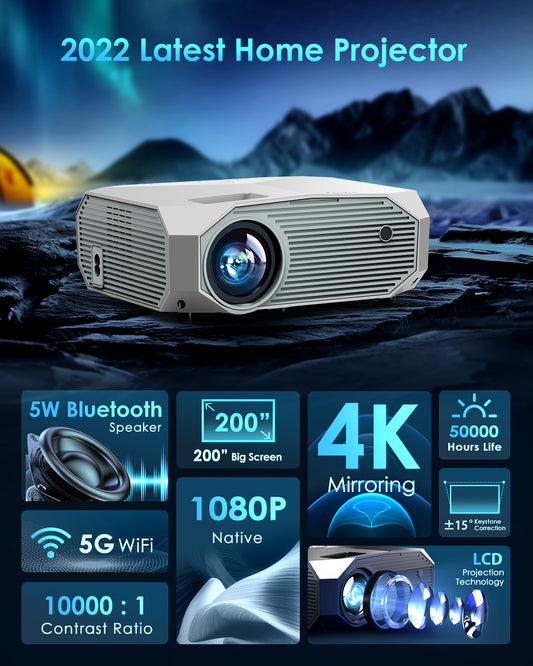
Connecting a laptop to a projector is a common requirement in various settings, including classrooms, business presentations, and home theaters. The ability to display your laptop's screen on a larger projection surface can enhance visual impact and facilitate effective communication. In this step-by-step guide, we will walk you through the process of connecting a laptop to a projector, ensuring a seamless and successful connection.
Step 1: Gather the Necessary Equipment
Before you begin the connection process, ensure that you have the following equipment on hand:
- Laptop: The laptop you wish to connect to the projector.
- Projector: The projector that you will use for projection.
- Video Cable: A suitable video cable to establish the connection between your laptop and the projector. Common options include HDMI, VGA, or DisplayPort cables.
- Audio Cable (optional): If you want to transmit audio through the projector's speakers, consider using an audio cable that is compatible with your laptop and projector.
Step 2: Prepare Your Laptop
Next, follow these steps to prepare your laptop for the connection:
1. Power Off Your Laptop
Ensure that your laptop is powered off before making any connections. This precautionary step helps prevent any potential damage to your devices.
2. Identify the Video Port
Locate the video port on your laptop. Depending on the model, you may have HDMI, VGA, or DisplayPort ports. Familiarize yourself with the specific port on your laptop to choose the appropriate video cable for the connection.
3. Check the Available Video Output
Depending on your laptop's configuration, you may have multiple video outputs. In some cases, you can choose between mirroring (duplicating the laptop screen on the projector) or extending the display (using the projector as an additional screen). Determine your desired output mode and remember the corresponding key combination or settings to adjust it later.
Step 3: Set Up the Projector
Now it's time to prepare the projector for the connection:
- Position the projector: Set up the projector in a suitable location, ensuring that it is placed on a stable surface and positioned towards the projection screen or wall.
- Power on the projector: Connect the power cable to the projector and plug it into a power source. Turn on the projector and allow it to warm up, following the manufacturer's instructions.
- Select the correct input source: On the projector's control panel or remote, select the input source that corresponds to the video cable you will use for the connection (HDMI, VGA, or DisplayPort).
Step 4: Connect the Laptop and Projector
Follow these steps to establish the connection between your laptop and the projector:
1. Connect the Video Cable
Take one end of the video cable and connect it to the video port on your laptop. Ensure a secure connection by tightening any screws or fasteners.
2. Connect the Other End of the Video Cable
Connect the other end of the video cable to the corresponding input port on the projector. Again, ensure a secure connection.
3. Connect the Audio Cable (optional)
If you want to transmit audio through the projector's speakers, connect one end of the audio cable to your laptop's audio output port and the other end to the audio input port on the projector.
Step 5: Adjust Settings and Test the Connection
With the physical connection established, it's time to adjust settings and test the connection:
1. Power On Your Laptop
Turn on your laptop and wait for it to boot up. The laptop should automatically recognize the projector connection.
2. Adjust Display Settings
Access the display settings on your laptop to configure the projection. Depending on your operating system (Windows, macOS, etc.), you can usually find the display settings in the control panel or system preferences. Select the appropriate display mode (mirroring or extending) and adjust the resolution settings if necessary.
3. Test the Connection
Once you have configured the display settings, test the connection by playing a video or opening a document on your laptop. The content should be displayed on the projector screen. If the projection is not visible or appears distorted, recheck the cable connections and ensure that the projector is set to the correct input source.
Step 6: Fine-Tune the Projection
To optimize the projection and ensure the best viewing experience, consider the following adjustments:
1. Position and Alignment
Adjust the projector's position and angle to achieve the desired projection size and alignment on the screen or wall. Use the projector's zoom, focus, and keystone correction features to fine-tune the image.
2. Audio Configuration
If you connected an audio cable, ensure that the sound is being transmitted through the projector's speakers. Adjust the volume settings on both the laptop and the projector to achieve the desired audio level.
3. Lighting Conditions
Consider the lighting conditions in the room. Dim the lights or close the curtains to create a suitable environment for optimal projection quality and visibility.
Conclusion
Connecting a laptop to a projector opens up a world of possibilities for presentations, entertainment, and sharing content on a larger screen. By following these step-by-step instructions, you can successfully connect your laptop to a projector and enjoy a seamless projection experience. With a properly connected laptop and projector, you can elevate your presentations, enjoy immersive movie nights, or collaborate effectively in various settings. So, go ahead and connect your laptop to a projector to unlock a whole new level of visual experience and productivity.


