
Projector bulbs, also known as lamps, are essential components that provide the light source for projectors to create vivid and dynamic images. Over time, projector bulbs wear out and require replacement to maintain optimal performance. If you're wondering how to change a projector bulb, this comprehensive guide will walk you through the process step by step. So, let's delve into the details and learn how to replace a projector bulb effectively.
Preparation
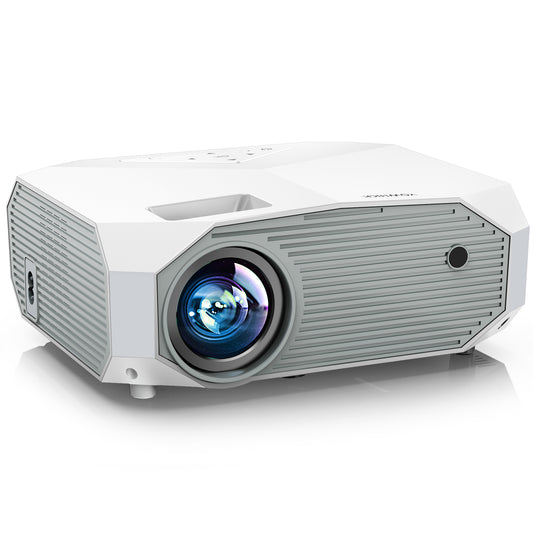
Identify the Projector Model
Before purchasing a replacement bulb, identify the specific model of your projector. This information can usually be found on the projector's body or in the user manual. Make a note of the model number to ensure compatibility when purchasing a new bulb.
Gather the Necessary Tools
To change the projector bulb, you'll need a few basic tools. Prepare a screwdriver (typically a Phillips or flathead), a clean cloth or gloves to handle the new bulb, and a soft brush or compressed air canister to clean any accumulated dust inside the projector.
Turn Off and Unplug the Projector
Ensure the projector is completely powered off and disconnected from any power source before proceeding. This step is crucial for your safety and to prevent any electrical mishaps during the bulb replacement process.
Allow the Projector to Cool Down
Projector bulbs can become extremely hot during operation. To avoid burning yourself, it's important to allow the projector to cool down for at least 30 minutes before attempting to replace the bulb. Touching a hot bulb can cause injury.
Accessing the Bulb Compartment
Locate the Bulb Compartment
Projector models vary in design, but most have a specific compartment or door that houses the bulb. Consult the user manual or manufacturer's instructions to locate the bulb compartment.
Remove the Bulb Compartment Cover
Using the appropriate screwdriver, carefully remove the screws or clips that secure the bulb compartment cover. Set aside the screws in a safe place to avoid misplacing them.
Open the Bulb Compartment
With the cover removed, gently open the bulb compartment, taking care not to touch any internal components or the existing bulb.
Removing the Old Bulb
Handle the Bulb Carefully
Wear gloves or use a clean cloth to handle the old bulb. Avoid touching the glass surface of the bulb, as oils from your skin can affect the bulb's performance or cause it to malfunction.
Disconnect the Bulb
Most projector bulbs are connected to the projector via a socket or connector. Carefully detach the bulb from the socket by gently pulling or twisting it, following the manufacturer's instructions if provided.
Dispose of the Old Bulb Properly
Projector bulbs contain delicate materials and may contain mercury or other hazardous substances. Consult your local regulations for proper disposal methods, and follow any recycling or disposal guidelines provided by the manufacturer.
Installing the New Bulb
Unpack the New Bulb
Remove the new bulb from its packaging, being careful not to touch the glass surface. Inspect the bulb for any signs of damage before proceeding.
Align the Bulb
Align the new bulb with the socket or connector in the projector. Ensure the bulb is oriented correctly according to the manufacturer's instructions.
Insert the Bulb
Gently insert the new bulb into the socket or connector, applying slight pressure until it is securely in place. Take care not to force the bulb, as this can cause damage.
Reassembling the Bulb Compartment
Close the Bulb Compartment
Carefully close the bulb compartment, ensuring that it is aligned correctly with the projector's body. Make sure there are no obstructions or loose cables that could interfere with the compartment's closure.
Secure the Bulb Compartment Cover
Using the previously removed screws or clips, secure the bulb compartment cover back in place. Tighten the screws or fasten the clips securely but be cautious not to overtighten, as it may damage the cover or projector casing.
Perform a Visual Inspection
Before turning on the projector, visually inspect the bulb compartment to ensure that everything is properly secured and there are no loose parts or cables.
Powering On the Projector
Reconnect the Projector to Power
Plug the projector back into a power source, ensuring a secure connection. Double-check that all cables are properly connected before proceeding.
Power on the Projector
Turn on the projector using the power button or switch. Allow the projector a few moments to initialize and start up.
Verify Bulb Functionality
Once the projector is powered on, verify that the new bulb is functioning correctly. Check for a bright and stable projection on the screen, indicating that the new bulb is operating as expected.
Resetting the Bulb Timer
Access the Projector's Menu
Navigate to the projector's menu settings using the remote control or onboard controls. Look for the "Lamp" or "Bulb" options in the menu.
Reset the Bulb Timer
Locate the option to reset the bulb timer or lamp hours in the menu. Select this option and follow the on-screen prompts to reset the timer to zero or the appropriate value for the new bulb.
Confirm the Reset
After resetting the bulb timer, verify that the new bulb's hours are accurately displayed in the projector's settings menu. This step is important for tracking the bulb's usage and estimating its remaining lifespan.
Maintenance and Longevity
Regular Cleaning
To maintain optimal performance and extend the lifespan of your new bulb, regularly clean the projector's air filters, lens, and exterior. Follow the manufacturer's instructions for proper cleaning techniques and frequency.
Proper Ventilation
Ensure the projector has adequate ventilation to prevent overheating. Avoid blocking air vents or placing the projector in enclosed spaces that restrict airflow.
Power Management
Implement power-saving features, such as eco-modes or automatic shutdown timers, to conserve energy and reduce unnecessary bulb usage.
Conclusion
Knowing how to change a projector bulb is an essential skill for projector owners. By following this step-by-step guide, you can safely and effectively replace the bulb in your projector. Remember to prepare the necessary tools, power off and unplug the projector, allow it to cool down, and locate the bulb compartment. Carefully remove the old bulb, dispose of it properly, and install the new bulb following the manufacturer's instructions. Reassemble the bulb compartment, power on the projector, and reset the bulb timer. Finally, implement proper maintenance practices to ensure the longevity and optimal performance of your projector bulb. With these instructions in hand, you can confidently change your projector bulb and continue enjoying high-quality projection experiences.