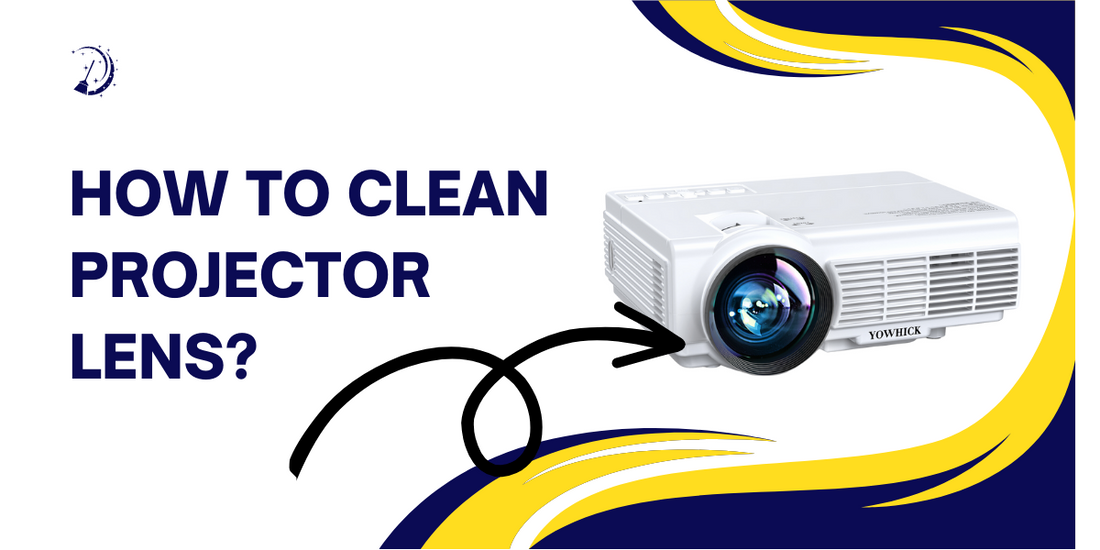
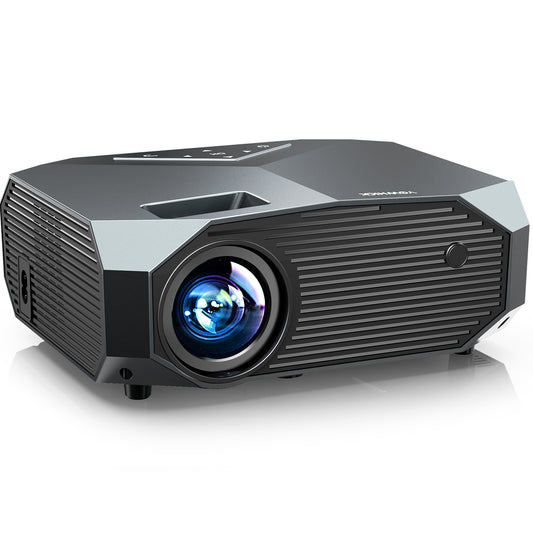
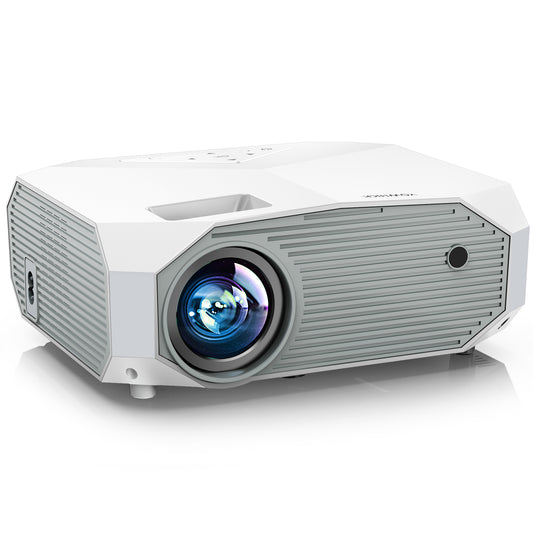
A projector lens plays a critical role in delivering clear and sharp images onto the screen. Over time, dust, fingerprints, and other debris can accumulate on the lens, compromising the image quality. Regularly cleaning your projector lens is essential to maintain optimal performance. In this comprehensive guide, we will walk you through the step-by-step process of cleaning your projector lens like a professional. So, let's get started and ensure your projector continues to deliver stunning visuals!
1. Gather the Necessary Supplies
Before you begin cleaning your projector lens, it's important to gather the necessary supplies. Here are some items you will need:
- Lens cleaning solution: Use a specialized lens cleaning solution specifically designed for delicate optical surfaces. Avoid using household cleaning products, as they may damage the lens.
- Microfiber cloth: Choose a lint-free and non-abrasive microfiber cloth to avoid scratching the lens.
- Compressed air can: This will help remove loose debris and dust particles from the lens.
- Lens blower brush: Use a lens blower brush with soft bristles to gently remove any stubborn particles.
2. Prepare the Environment
Create a suitable environment for cleaning your projector lens. Ideally, choose a clean and dust-free area with adequate lighting. Turning off the projector and allowing it to cool down before cleaning will prevent any heat-related issues during the process.
3. Power Off and Disconnect the Projector
Before cleaning the lens, ensure that the projector is powered off and disconnected from the power source. This step is crucial for your safety and to prevent any accidental damage to the projector or yourself.
4. Remove Loose Debris with Compressed Air
Using the compressed air can, carefully blow away any loose debris or dust particles from the lens surface. Hold the can upright and maintain a safe distance to avoid excessive pressure or cold air that may damage the lens. Move the can in a gentle sweeping motion across the lens surface.
5. Apply Lens Cleaning Solution
Dampen a small portion of the microfiber cloth with the lens cleaning solution. Avoid spraying the solution directly onto the lens, as it may seep into the inner workings of the projector. Gently wipe the lens surface in a circular motion, starting from the center and working your way outward. Apply minimal pressure to avoid scratching the lens.
6. Remove Stubborn Stains or Smudges
If there are stubborn stains or smudges on the lens, use a lens blower brush to gently brush them away. Avoid using excessive force or abrasive materials that may damage the lens. If the stains persist, moisten another portion of the microfiber cloth with the cleaning solution and gently repeat the circular wiping motion.
7. Dry the Lens
Once you have cleaned the lens, use a dry section of the microfiber cloth to gently remove any remaining moisture. Ensure that the lens is completely dry before reassembling and powering on the projector. Any residual moisture could affect the image quality or potentially cause damage to the projector.
8. Reassemble and Test
After the lens is dry, reassemble any components that were removed during the cleaning process. Double-check that everything is securely in place. Once reassembled, reconnect the projector to the power source and turn it on. Test the projector by projecting an image onto the screen or wall to ensure that the cleaning process has not affected the image quality.
9. Regular Maintenance
To maintain optimal performance, it's important to incorporate regular maintenance into your projector care routine. Keep the projector in a clean and dust-free environment, as dust particles can accumulate on the lens and other internal components over time. Consider using a projector dust cover when the device is not in use to protect it from dust and other contaminants.
Additionally, avoid touching the lens with your fingers as much as possible. The natural oils on your skin can leave fingerprints or smudges on the lens, impacting image clarity. If fingerprints or smudges do occur, follow the steps outlined above to clean them promptly.
Conclusion
Cleaning your projector lens is a simple yet essential task that can significantly improve your viewing experience. By following the step-by-step guide provided in this blog post, you can confidently and effectively clean your projector lens like a professional. Remember to gather the necessary supplies, create a suitable environment, and handle the lens with care. Regular maintenance and care will ensure optimal image quality, prolong the lifespan of your projector, and provide you with an immersive and enjoyable viewing experience.

